
Adding animations with Lottie in React
By James Charlesworth
9 December 2022
You will be amazed at how simple adding pre-made animations to your React website can be with Lottie, the JSON-based animation library.

There isn't a much better way to grab the attention of visitors to your site than by adding eye catching animations. Even small elements of your page can be enhanced by adding subtle animations, check out the Twitter logo in the footer of this website....
It is a Lottie animation created by Priyanshu Rijhwani and uploaded to lottiefiles.com for anyone to download and use for free. Here is how to add lottie animations just like this to your own React website or web application.
What is Lottie?
Lottie is an animation standard and associated library that allows animations, such as those created in Adobe After Effects, so be exported as JSON, distributed over the web, and then rendered in the browser. It was developed at AirBnB and is based on an Adobe After Effects plugin called Bodymovin. Lottie makes it easy to add sophisticated animations to a website (or mobile app) without having to rebuild them from scratch in code. Under the hood it uses Scalable Vector Graphics (SVG) which is a vector file format, allowing lottie animations to scale to any size and still render at the highest quality.
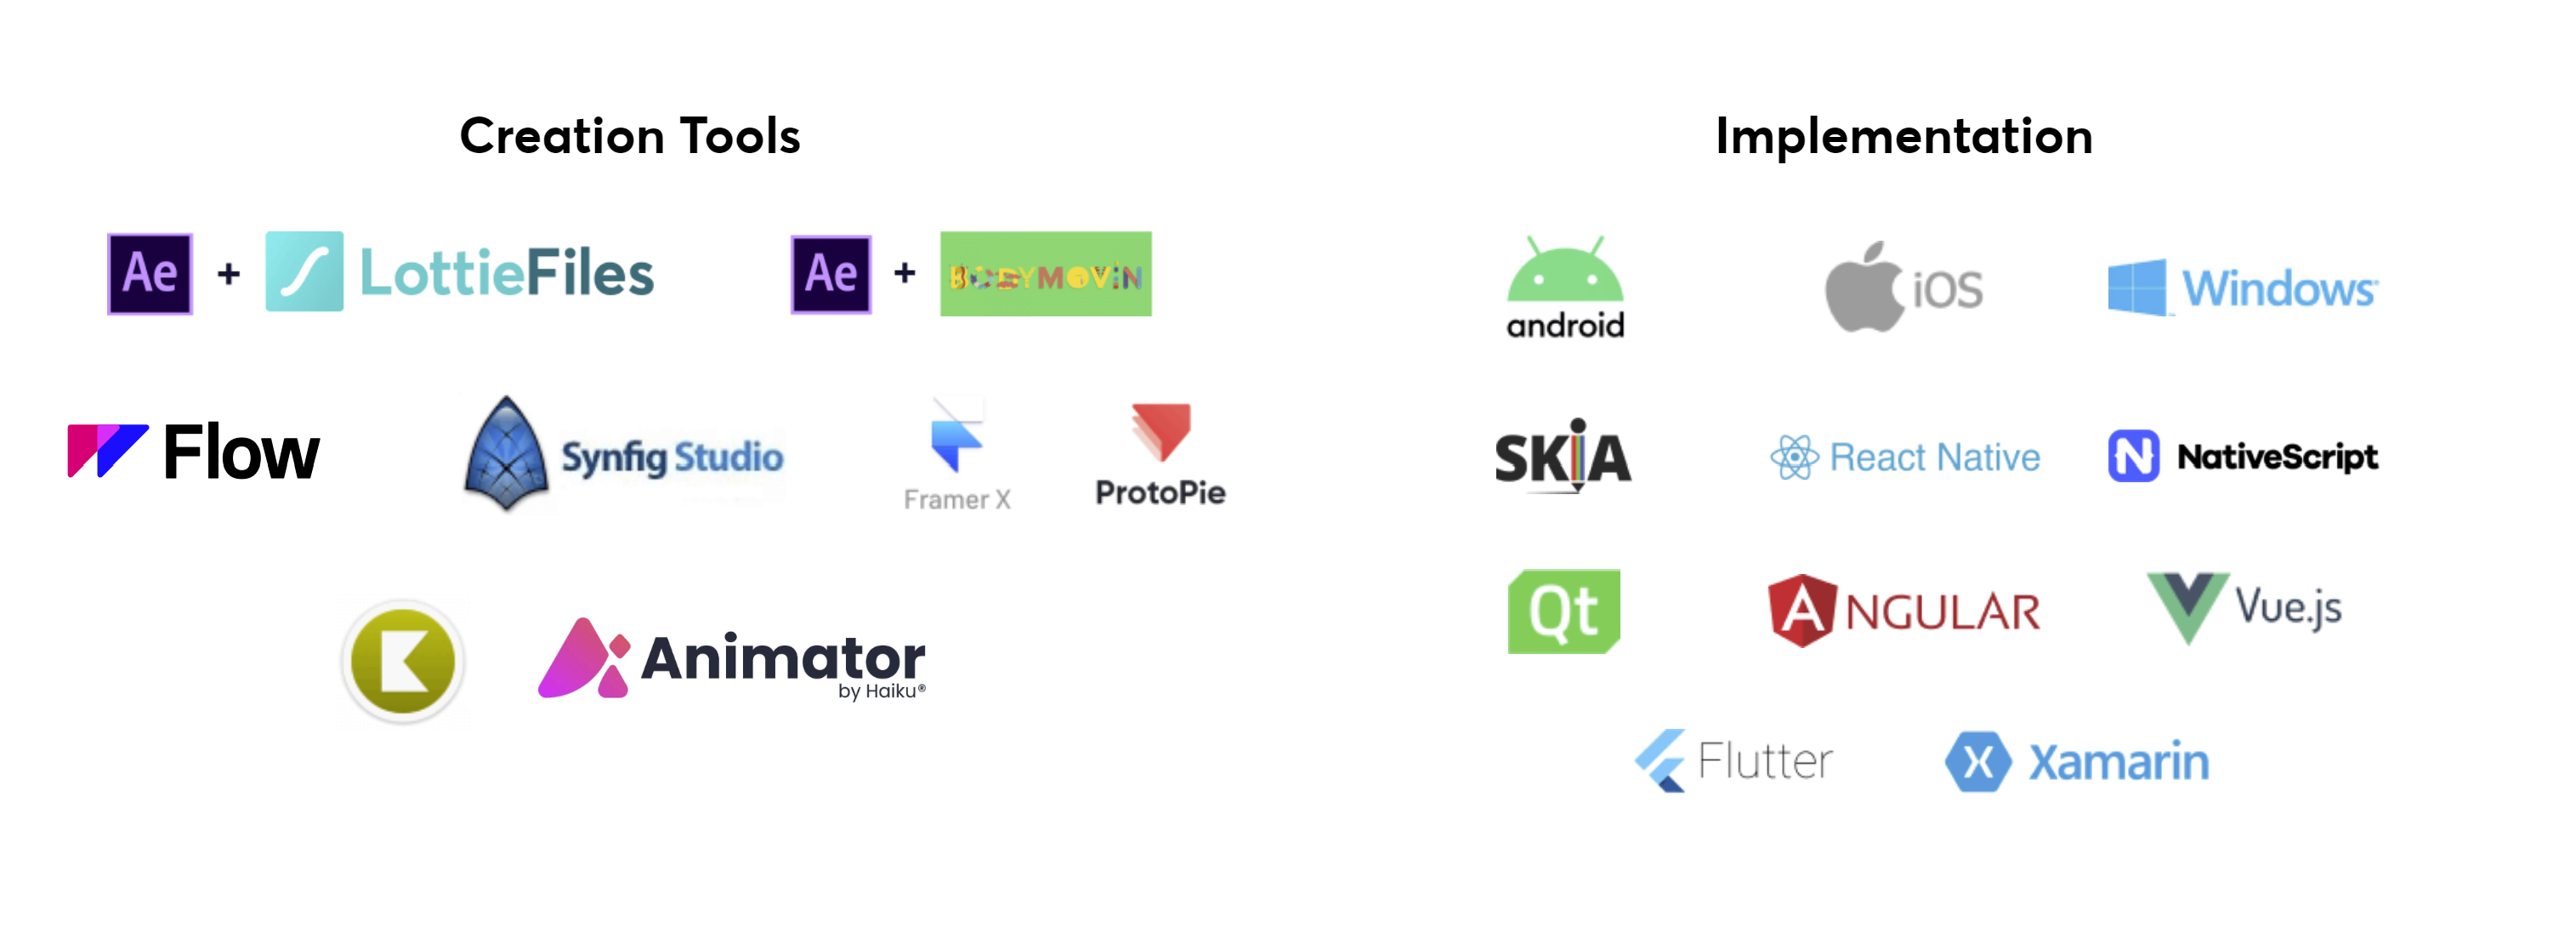
Lottie's web player has wrappers for a variety of platforms including React, Angular, and Vue.js. In this article we will be using the React wrapper component: LottieReact.
Rendering a Lottie Animation
This guide will show you how to use the LottieReact package to render a Lottie JSON animation in your React web application. The examples in this guide will use the Simple marketing website with tailwind CSS and React, the source code for which can be found on the traintocode GitHub. There is also a live demo of this landing page deployed here.
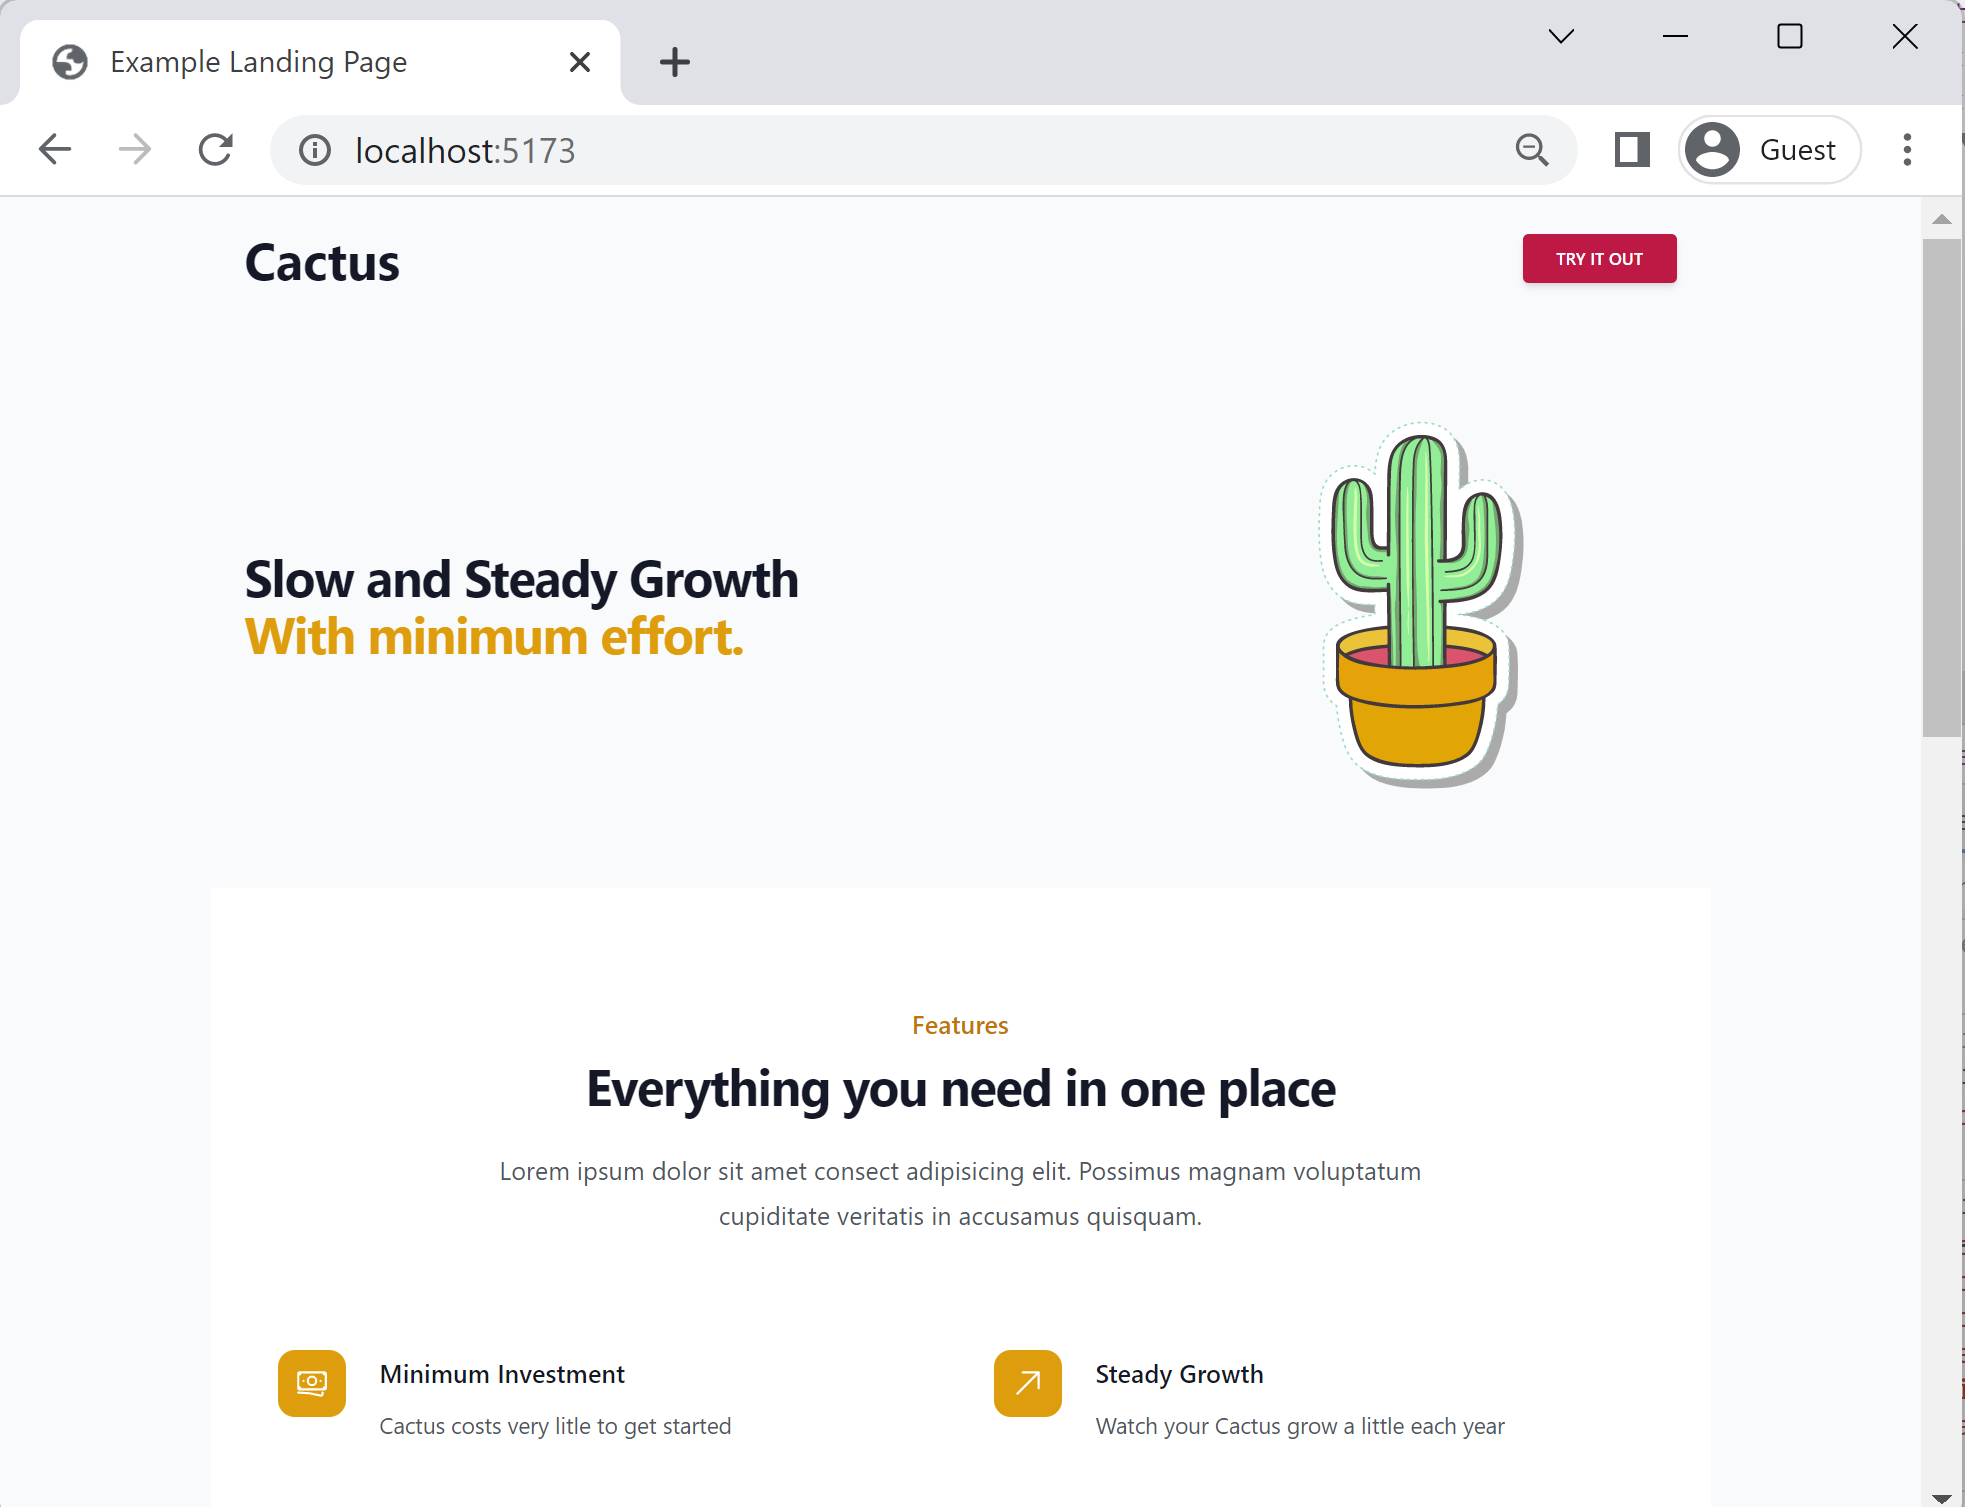
If you want to follow along with this guide you can check out the tag lottie-in-react from the repository, this commit represents the starting point for this tutorial.
https://github.com/traintocode/landing-page-react-tailwind.git

cd landing-page-react-tailwind

git checkout lottie-in-react

code .
Once you have checked out this commit, open up App.tsx and you should see the landing page with a comment in the place we will add our Lottie animation:
import React from 'react'
import './App.css'

function App() {

return <main className="bg-gray-50">
    <div className="mx-auto container p-6 lg:flex lg:items-center lg:justify-between">
      <h2 className="text-3xl font-bold tracking-tight text-gray-900 sm:text-4xl">
        <span className="block">Lottie Animation Example</span>
        <span className="block text-amber-500">With LottieReact.</span>
      </h2>
      <div className="mt-8 flex lg:mt-0 lg:flex-shrink-0">
        {/* LOTTIE ANIMATION WILL GO HERE */}
      </div>
    </div>

  </main>
}

export default App
Step 1 - Get a Lottie JSON File
Head over to lottiefiles.com and download this cactus animation as a JSON file. This file contains all the data we need to be able to render the cactus into our React application. Once downloaded, rename the file cactus.json and place it alongside the App.tsx component in the src folder of your Vite application:
src
assets
 react.svg
 App.css
 App.tsx
 cactus.jsondownloaded lottie JSON file
- index.css
- main.tsx
- vite-env.d.ts
Vite allows us to import JSON files directly into the top of our .tsx files, so no extra configuration is necessary simply add the following import statement to the top of your main component:
import React, { useEffect, useRef, useState } from 'react'
import './App.css'
import cactusAnimation from "./cactus.json"; // <-- Add this
Step 2 - Render with LottieReact
The next step is to install the lottie-react package from NPM:
npm install --save lottie-react
Then add the following import to your App.tsx component:
import React, { useEffect, useRef, useState } from 'react'
import './App.css'
import cactusAnimation from "./cactus.json";
import Lottie from "lottie-react"; // <-- Add this
You will now be able to use the <Lottie /> component you imported in your React component. To do this add it into the TSX where we had a placeholder comment before, and pass in the Lottie JSON you imported into the animationData prop.
import React from 'react'
import './App.css'
import cactusAnimation from "./cactus.json";
import Lottie from "lottie-react";

function App() {

return <main className="bg-gray-50">
    <div className="mx-auto container p-6 lg:flex lg:items-center lg:justify-between">
      ...
      <div className="mt-8 flex lg:mt-0 lg:flex-shrink-0">
        {/* Lottie component... */}
        <Lottie animationData={cactusAnimation} />
      </div>
    </div>

  </main>
}

export default App
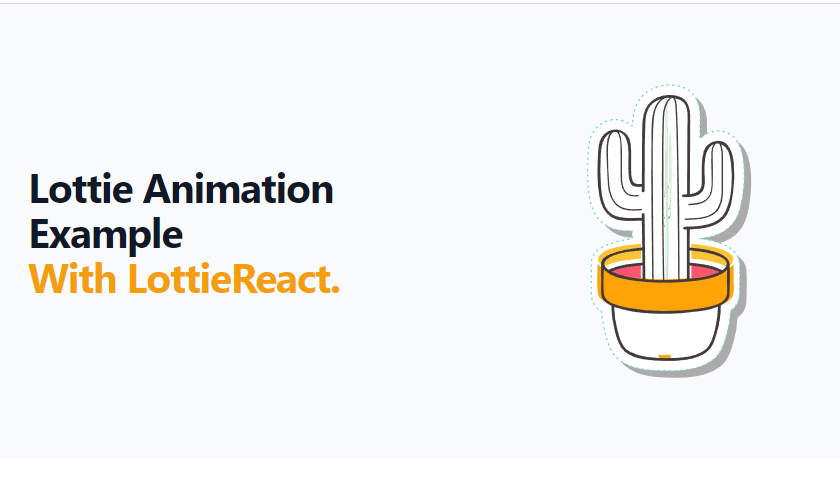
That's it, you should now see the cactus animation on the screen running in a loop when you start the development server with
npm run dev
Step 3 - Controlling the looping behaviour
The <Lottie /> animation component has some more props you can use to control the way the animation is rendered on the page. One of these is the loop prop which takes a boolean to control whether the animation should be played on a loop.
import React from 'react'
import './App.css'
import cactusAnimation from "./cactus.json";
import Lottie from "lottie-react";

function App() {

return <main className="bg-gray-50">
    <div className="mx-auto container p-6 lg:flex lg:items-center lg:justify-between">
      ...
      <div className="mt-8 flex lg:mt-0 lg:flex-shrink-0">
        {/* Setting loop to false... */}
        <Lottie animationData={cactusAnimation} loop={false} />
      </div>
    </div>

  </main>
}

export default App
Step 4 - Using a Ref for Finer Control
As well as controlling certain behaviour with the props on the <Lottie /> component, we can also modify the behaviour of the animation by passing the lottieRef prop and calling the built in interaction methods. For example this will go to a specific frame and start playing the animation from there:
lottieRef.current.goToAndPlay(45)
To create a ref object for controlling the animation, use the useRef() hook from React and pass into the lottieRef prop on the animation like this:
import React, { useRef } from 'react'
import './App.css'
import cactusAnimation from "./cactus.json";
import Lottie, { LottieRefCurrentProps } from "lottie-react";

function App() {

// create the ref here...
 const lottieRef = useRef<LottieRefCurrentProps>(null);

return <main className="bg-gray-50">
    <div className="mx-auto container p-6 lg:flex lg:items-center lg:justify-between">
      ...
      <div className="mt-8 flex lg:mt-0 lg:flex-shrink-0">
        {/* Pass in the lottieRef... */}
        <Lottie animationData={cactusAnimation} lottieRef={lottieRef as any} />
      </div>
    </div>

  </main>
}

export default App
Since this is Typescript, we have also imported the LottieRefCurrentProps type and passed it to the generic type argument of useRef<T>(). Doing this gives us full typescript support when calling the interaction methods on the ref.
You can call methods after the animation has mounted by placing calls to the interaction methods inside a useEffect() hook in your component.
import React, { useRef, useEffect } from 'react'
import './App.css'
import cactusAnimation from "./cactus.json";
import Lottie, { LottieRefCurrentProps } from "lottie-react";

function App() {

// create the ref here...
 const lottieRef = useRef<LottieRefCurrentProps>(null);
  useEffect(() => {
    // When the ref has been set, call interaction methods...
    if (lottieRef.current) {
      lottieRef.current.setSpeed(0.5)
      lottieRef.current.playSegments([1, 100], true);
    }
  }, [lottieRef]);

return <main className="bg-gray-50">
    <div className="mx-auto container p-6 lg:flex lg:items-center lg:justify-between">
      ...
      <div className="mt-8 flex lg:mt-0 lg:flex-shrink-0">
        <Lottie animationData={cactusAnimation} lottieRef={lottieRef as any} />
      </div>
    </div>

  </main>
}

export default App
You can see here we are passing [lottieRef] into the second argument of useEffect(). This ensures the hook is only run when the ref changes (ie. once the animation has been mounted)
useEffect(() => {
    ...
  }, [lottieRef]); // <-- pass in the second argument
Further Reading
With the help of the lottie-react package it is extremely easy to embed free pre-made animations into your web application. LottieReact version 2 does have some quirks, the amount of control you get from directly passing props to the <Lottie /> is limited, for example. The contributors are currently working on version 3 which should iterate and improve on the implementation of Lottie animations in React as this animation library grows in adoption.
The source code to this tutorial can be found here: github.com/traintocode/landing-page-react-tailwind. Here are some more articles that go into greater depth on some of the elements of this landing page.

Hi, I'm James
I've worked in software development for nearly 20 years, from junior engineer to Director of Engineering. I'm here to help you get your foot on the next rung of your career ladder. I post weekly videos on YouTube and publish guides, articles, and guided project tutorials on this site. Sign up to my newsletter too for monthly career tips and insights in the world of software development.
Related Project Tutorials
Read Next...
What is JavaScript Strict Mode and Why You Should Use It?
3 December 2023 • 3 min read
Explore the benefits of JavaScripts strict mode in enhancing code reliability and preventing common mistakes. This article delves into its features, real-world examples, and reasons why both beginners and pros should consider its adoption.
How to Run TypeScript in VS Code
30 November 2023 • 3 min read
Learn how to set up, run, and debug TypeScript in Visual Studio Code. This guide provides step-by-step instructions to enhance your JavaScript development process. Dive into the seamless integration of TypeScript with VSCode for a productive coding session.
First Class Functions in Javascript
17 August 2023 • 3 min read
This article introduces you to first class functions, and how functions can be treated as first class citizens in programming, demonstrating their utility and practical applications in Javascript.