
Simple marketing website with tailwind CSS and React
By James Charlesworth
17 December 2022
Complete guide to building a landing page for a SaaS application from scratch, using Vite + React + Tailwind

This guide will take you through creating a simple marketing website (or "landing page") for a SaaS application. This article is quite long, covering everything from creating a new web application using Vite, to deploying your marketing site to Netlify and linking a custom domain.
You can see a demo of the finished website here and full source code is on the traintocode GitHub.
1. What You Will Build
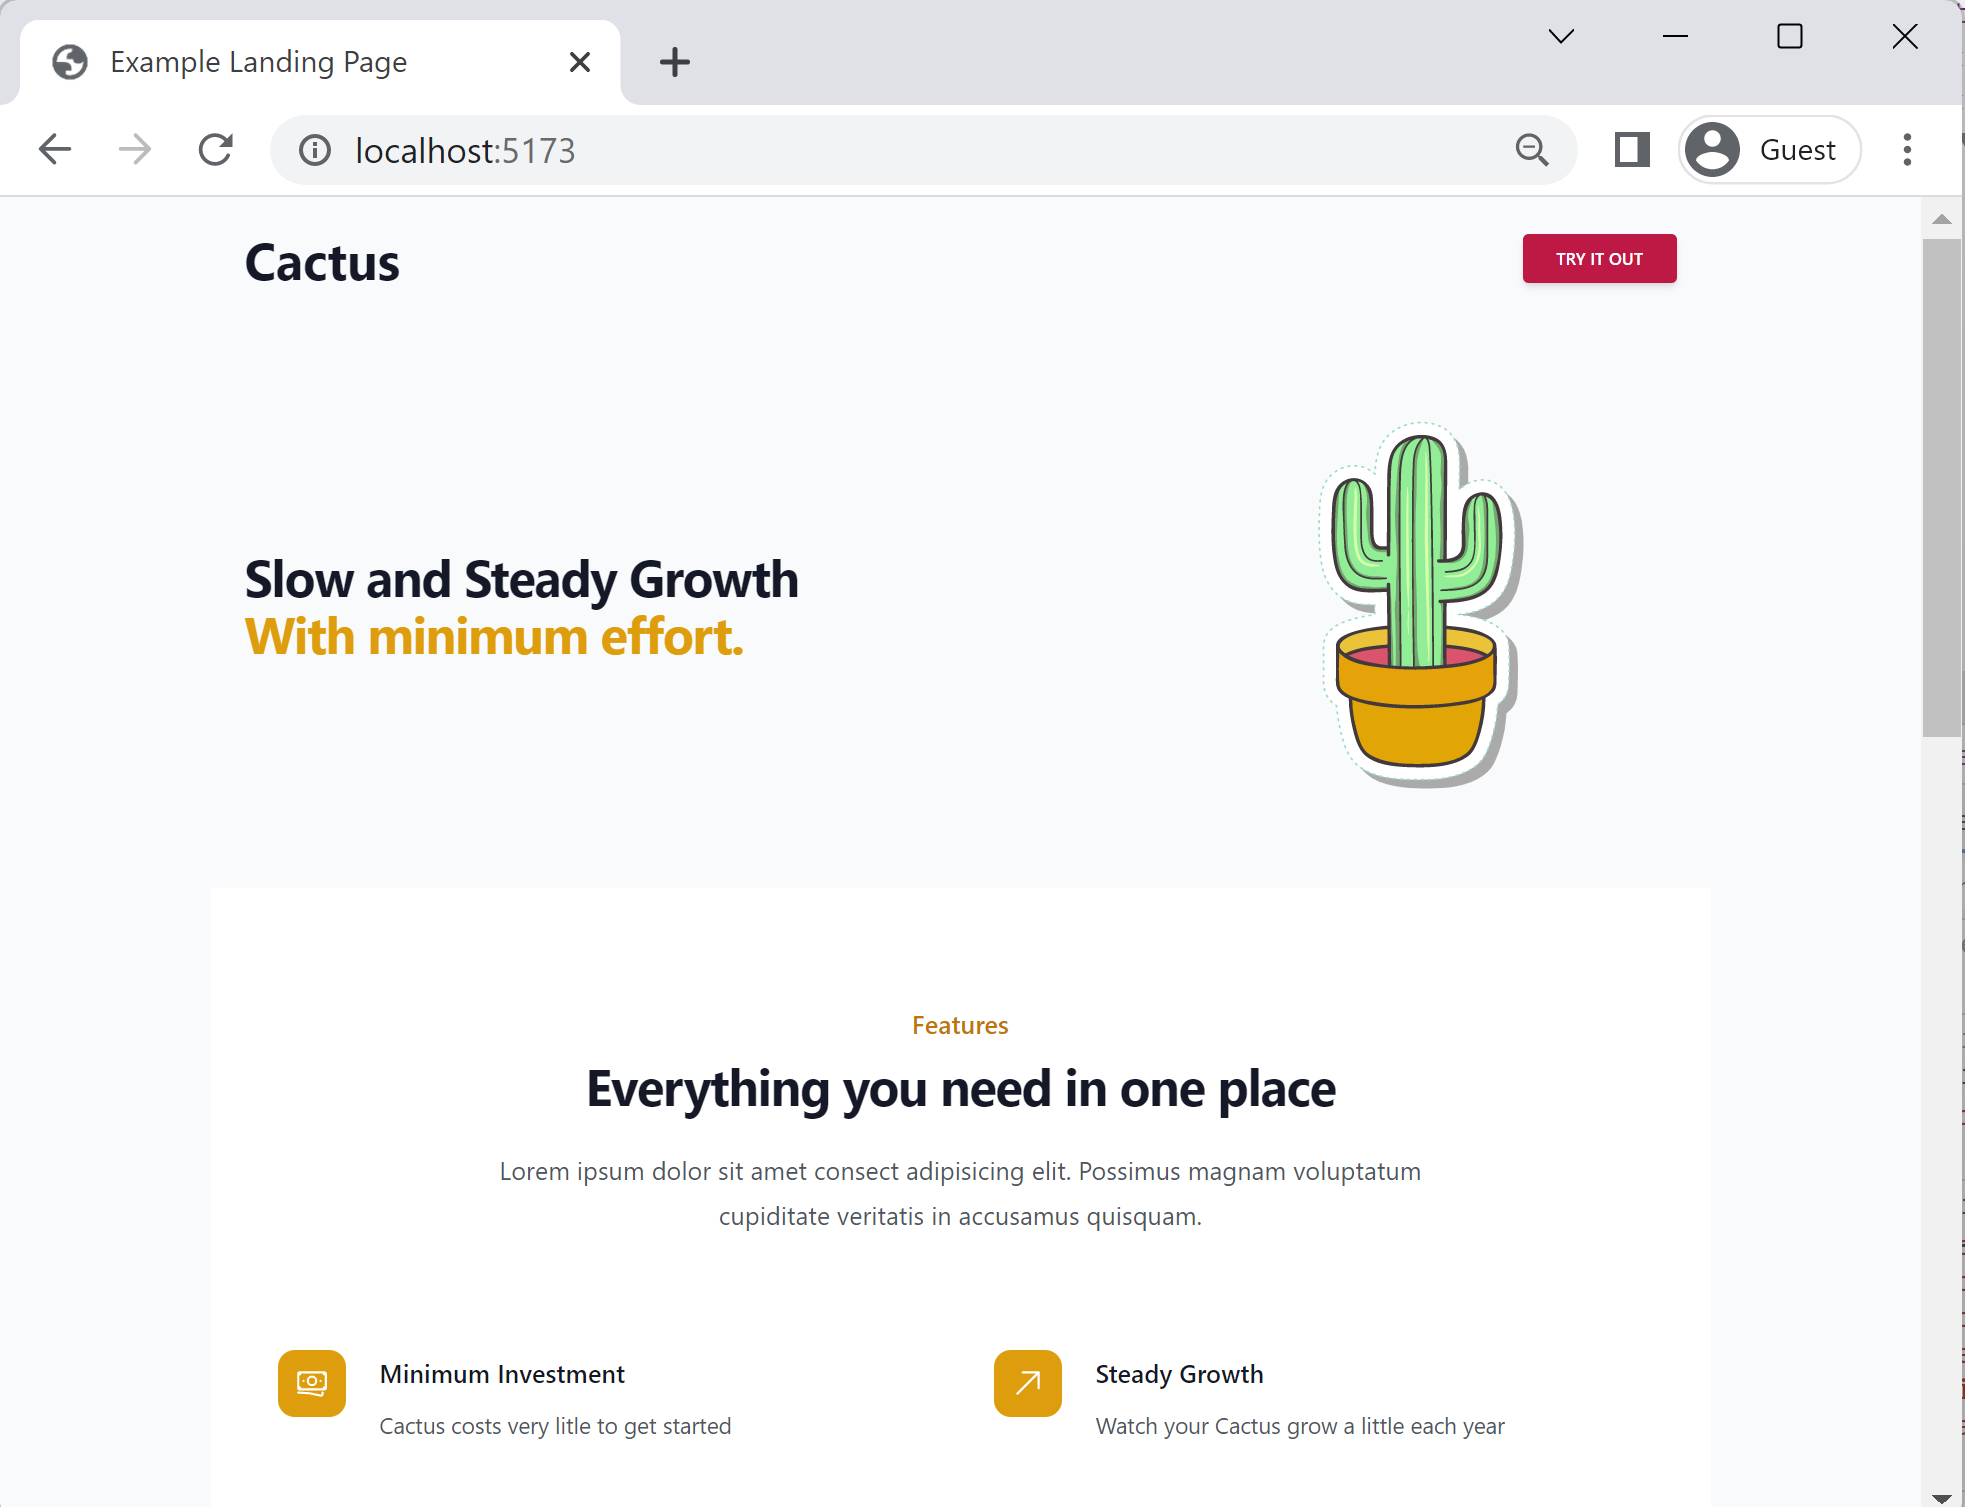
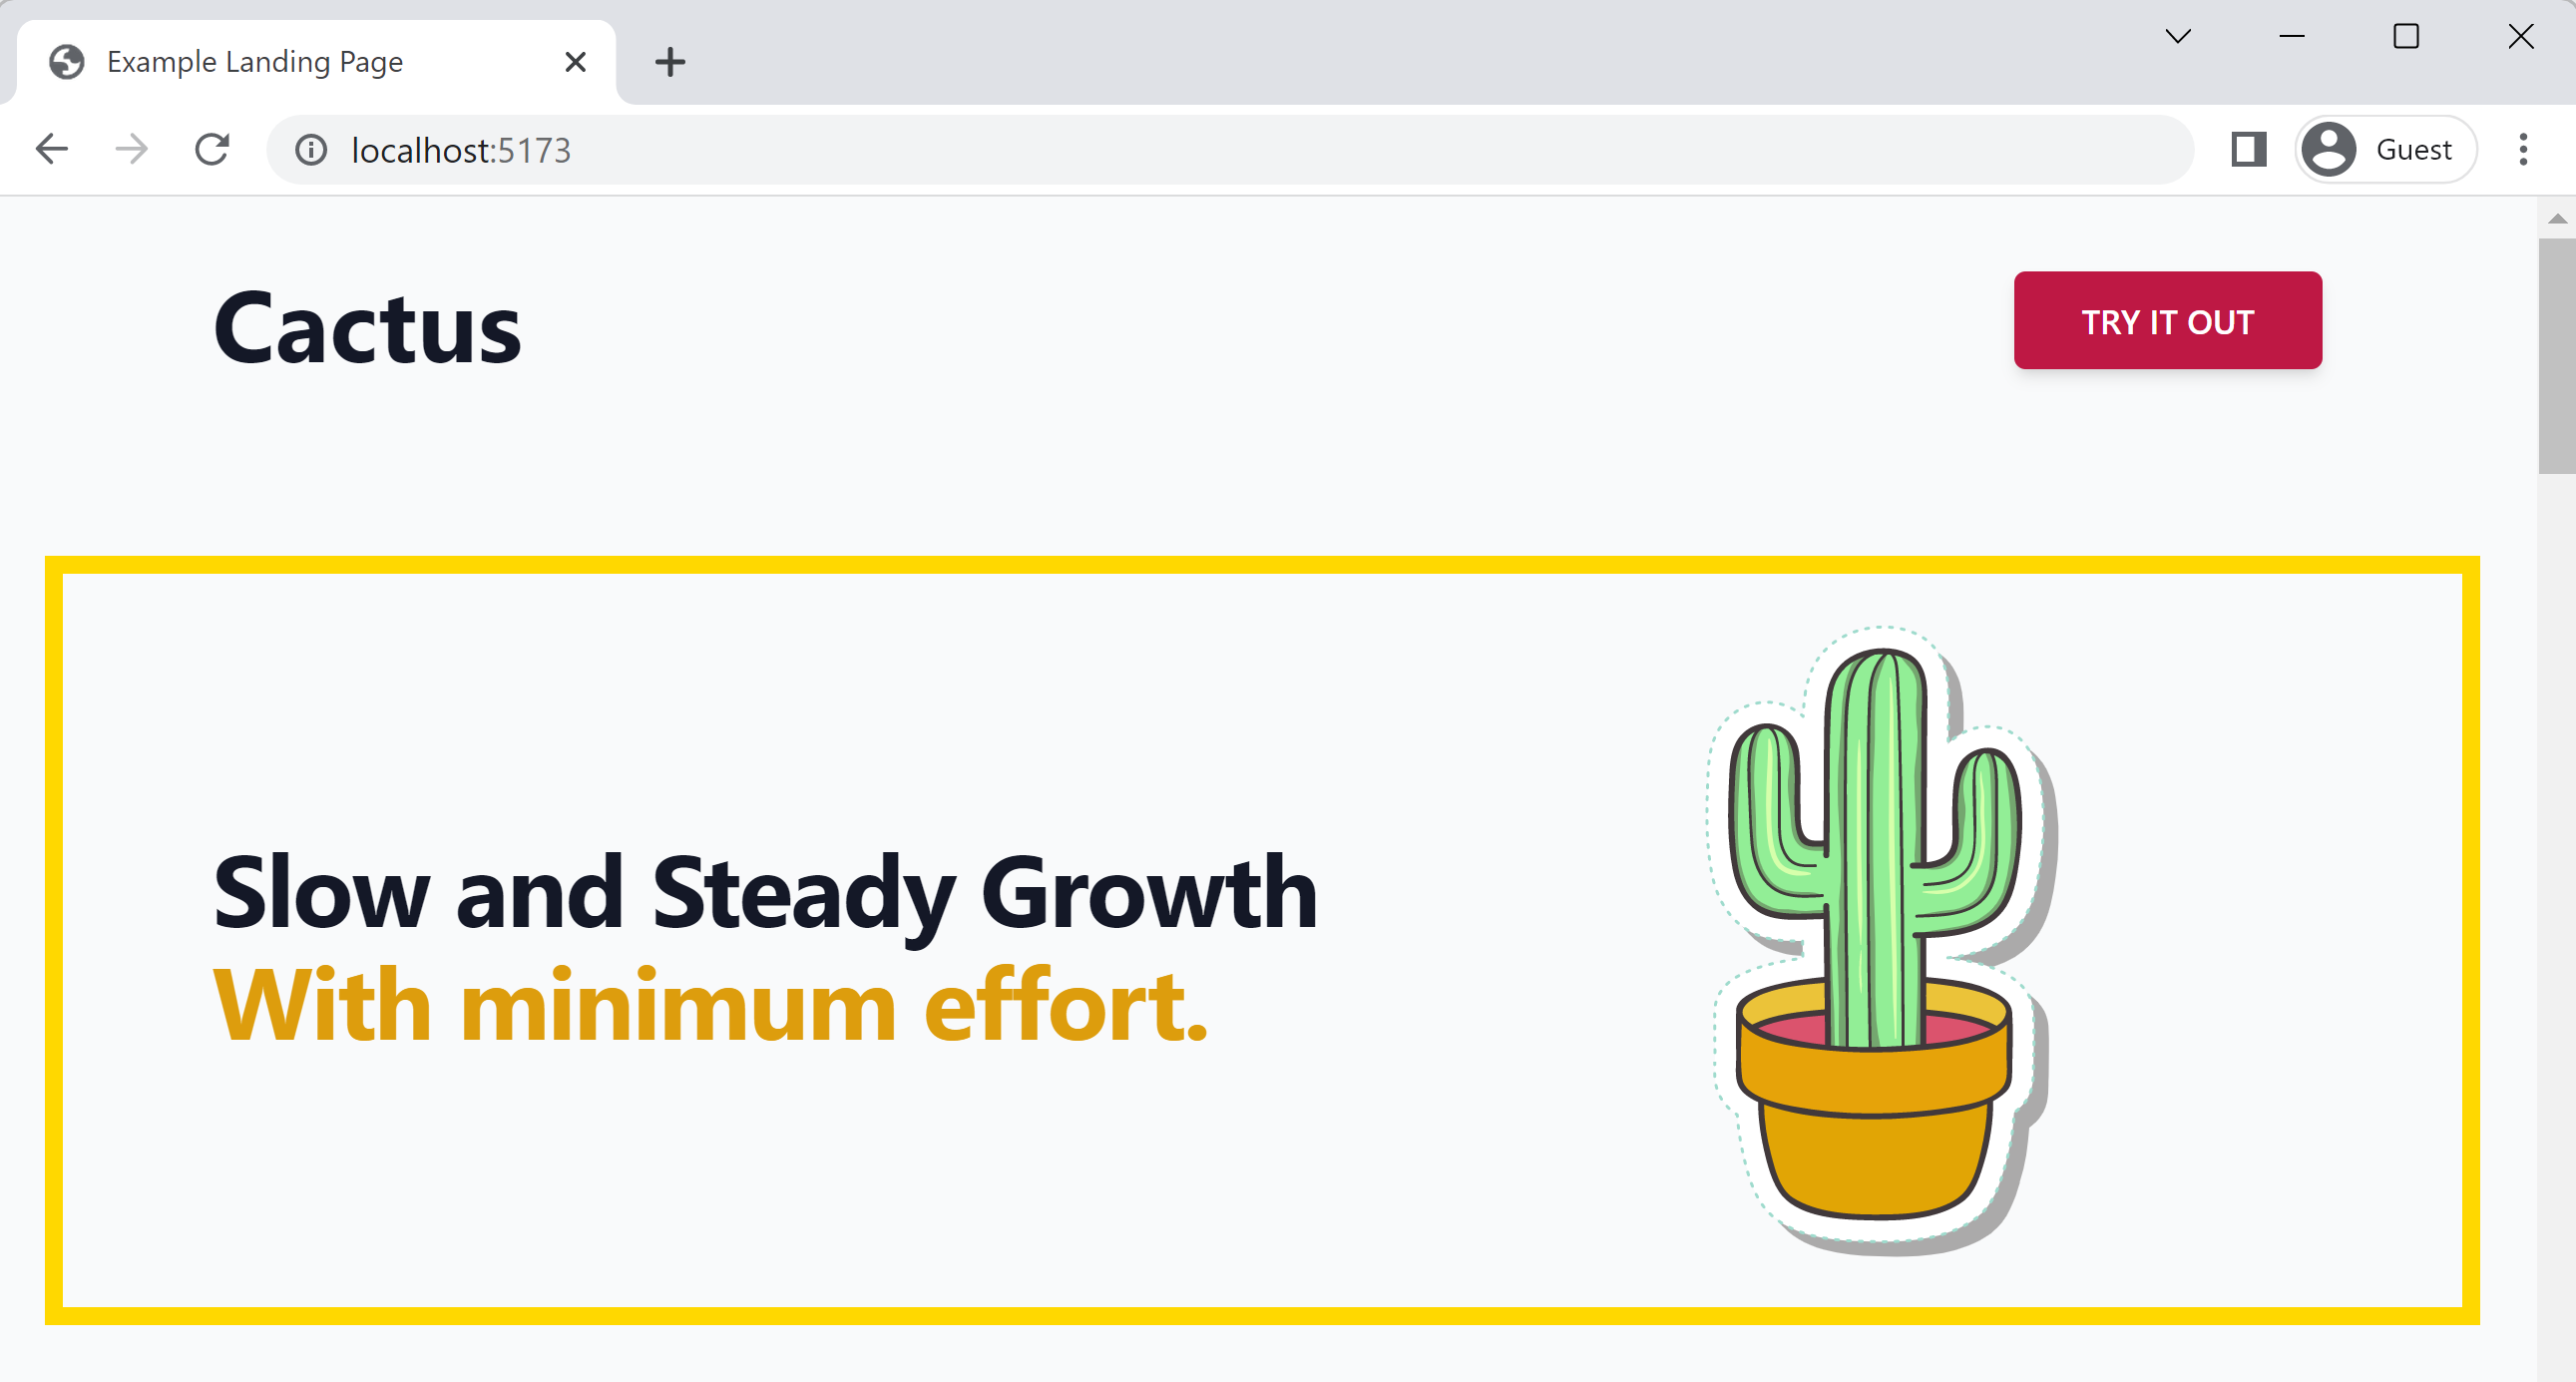
In this tutorial you will make this landing page for a fictional SaaS app called "Cactus". The website will be built as a static page consisting of HTML, Javascript and CSS. We will end this tutorial by uploading our site to Netlify where it can be hosted and accessible from anywhere on the web. We will also be linking a custom domain name that has been previously purchased to the landing page. Here is what the final website will look like:
2. Setting Up Your Project
For the build tool and boilerplate of this project we are going to use Vite. You can create a new Vite project by running npm create vite@latest on your command line. The Vite (CLI)[https://vitejs.dev/guide/cli.html] will guide you through the setup of a new project, for this example select React and Typescript when prompted:
$ npm create vite@latest
Need to install the following packages:
  create-vite@3.2.1
Ok to proceed? (y) y
√ Project name: ... landing-page-react-tailwind
√ Select a framework: » React
√ Select a variant: » TypeScript

Scaffolding project in C:\Code\landing-page-react-tailwind...

Done. Now run:

  cd landing-page-react-tailwind
  npm install
  npm run dev
You can see Vite is telling us to navigate into our new project directory and run npm run dev to begin the development server.
VITE v3.2.4 ready in 2250 ms
➜ Local: http://127.0.0.1:5173/
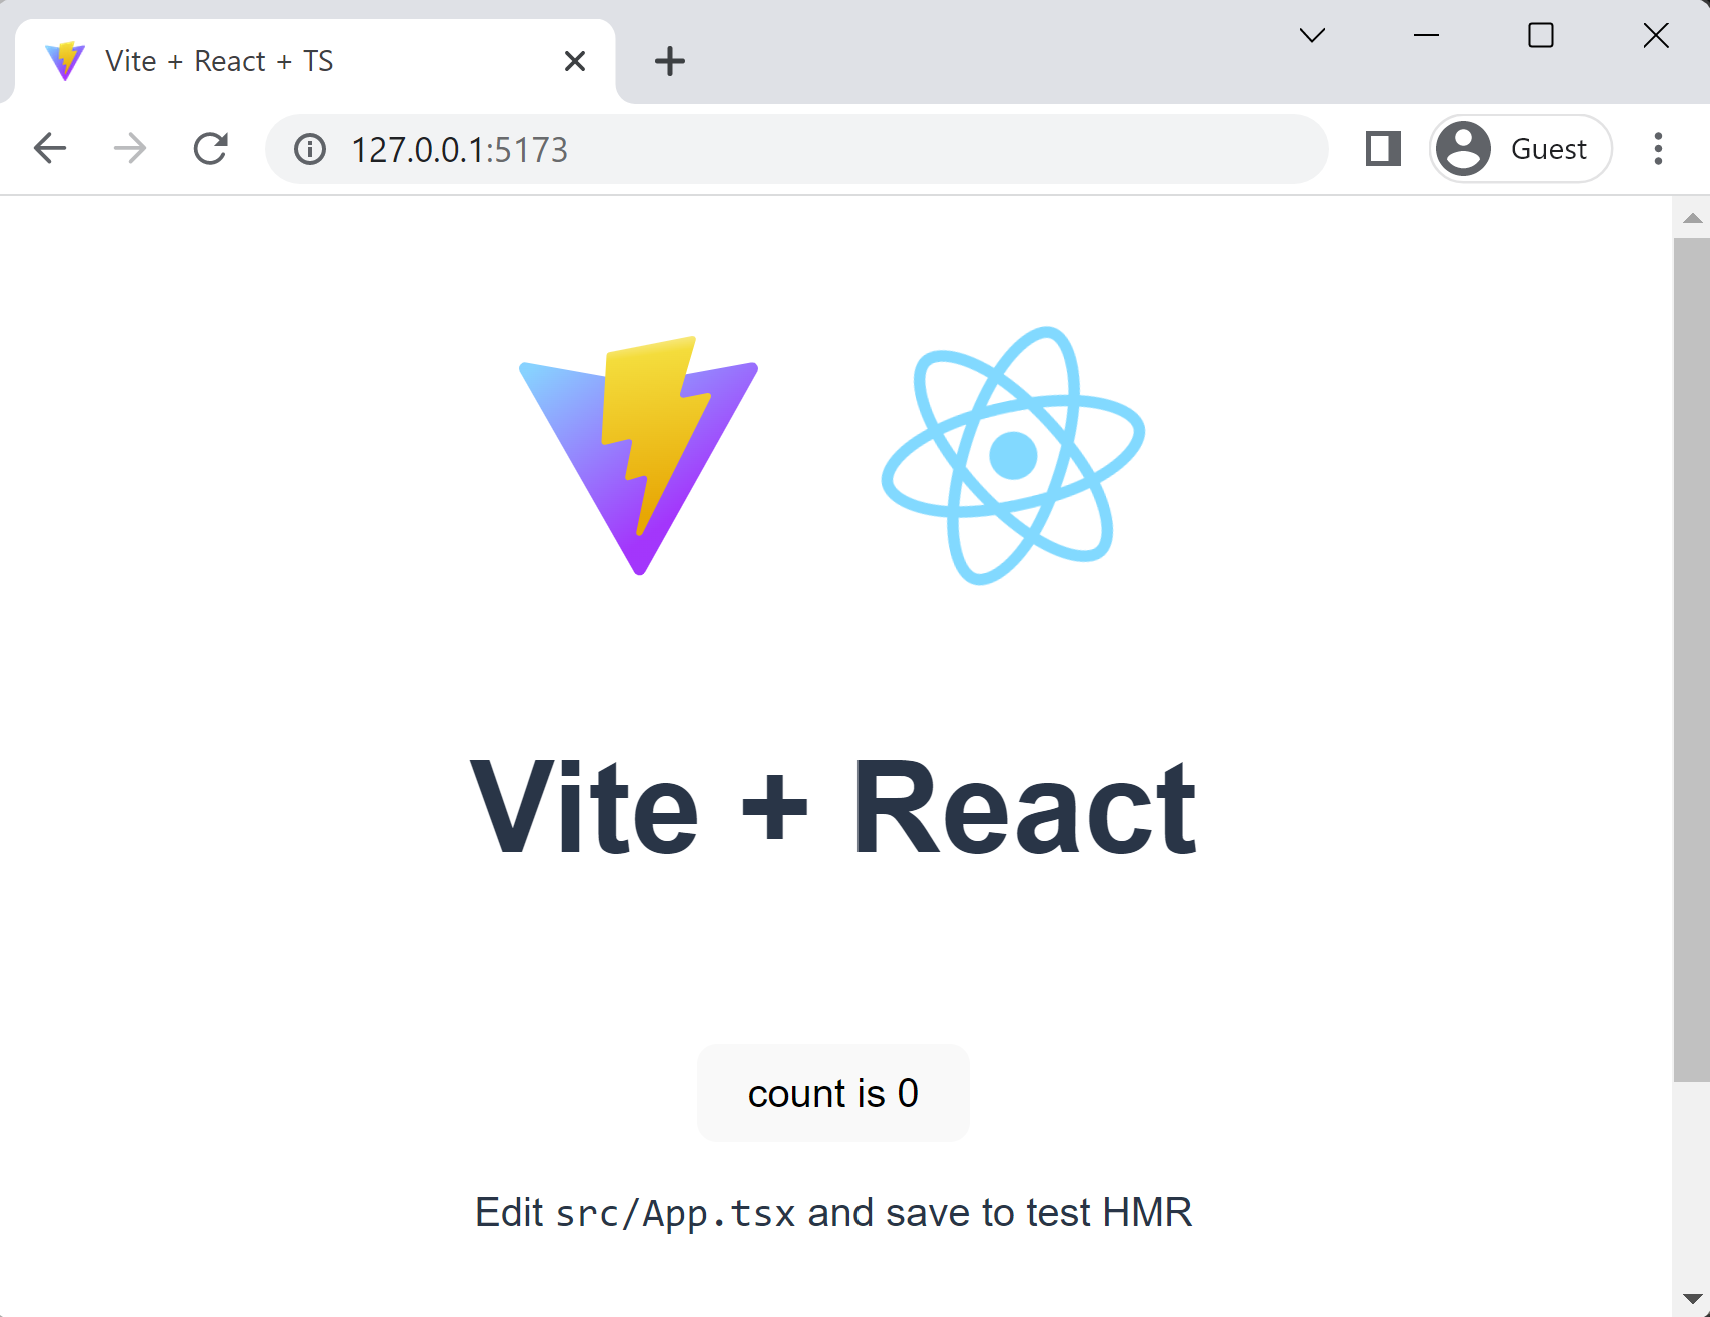
➜ Network: use --host to exposeWith the development server up and running, open up a web browser and navigate to the url provided in the console window (in our case this is http://127.0.0.1:5173/ but yours may be on a different port). You should see the example Vite application.
Overview Of Project Files
Open up a new instance of your IDE in this new directory, for VSCode this can be done by running code . in your terminal inside the new project directory.
Here are the files that are created:
public
 vite.svgstatic files that are copied to the build output
src
assets
- react.svg
 App.css
 App.tsxmain application component
- index.css
- main.tsx
- vite-env.d.ts
 .gitignore
 index.html
 package.json
 tsconfig.json
- tsconfig.node.jsonthis one is for the actual Vite build itself
- vite.config.ts
Run a Vite Build
You may notice from the file structure above that we don't have a ./dist folder yet. This is because we haven't built our Vite application yet for production. To do this run:
npm run buildYou should now see your built assets inside the new ./dist folder. We will come back to this production build command once the site is ready, but it is always good to familiarise yourself with how your site's files will be built and packaged before you start.
distthis folder will be uploaded to our CDN when we deploy
assets
- index-3fce1f81.css
 index-392a1cbd.js
- react-35ef61ed.svg
- index.html
- vite.svgthis file was copied from the "public" directory above
Installing Tailwind CSS
Tailwind is a CSS framework that uses utility classes to rapidly style your HTML or TSX react components. Full documentation for the utility classes available can be found on the Tailwind documentation website, for this tutorial we will be using basic layout classes to style the sections of our landing page.
To install tailwind CSS into our new Vite application, you need to run the following on your command line:
npm install -D tailwindcss postcss autoprefixer
npx tailwindcss init -p
Then paste the following into the new tailwind.config.cjs file that was created:
/** @type {import('tailwindcss').Config} */
module.exports = {
  content: [
    "./index.html",
    "./src/**/*.{js,ts,jsx,tsx}",
  ],
  theme: {
    extend: {},
  },
  plugins: [],
}
Finally, open up index.css and add the following three lines to the top:
@tailwind base;
@tailwind components;
@tailwind utilities;

:root {
  font-family: Inter, Avenir, Helvetica, Arial, sans-serif;
  font-size: 16px;
  line-height: 24px;
  ...
Remove Vite Boilerplate
The final step in setting up our project is to remove a lot of the code that Vite added into our new project files when we ran npm create vite@latest at the top of this tutorial. Vite adds a lot of styles to both index.css and App.css, the majority of which we can safely remove. Clear out the following css files:
public
src
assets
- react.svgdelete this file
- App.cssdelete everything from here
- App.tsx
- index.cssdelete everything from here
- main.tsx
- vite-env.d.ts
- .gitignore
- index.html
- package.json
- tsconfig.json
- tsconfig.node.json
- vite.config.ts
You can also remove the majority of code from src/App.tsx so this file just returns an empty component like so:
import { useState } from 'react'
import './App.css'

function App() {
  return <div></div>
}

export default App
Again, the full source code to this landing page tutorial can be found on the traintocode GitHub.
3. Adding Content
In this next section we will be building out the landing page by adding content and styling with Tailwind CSS. Before you start however, let's change the of the page. The title is read from the <title> tag in the index.html Vite created for us. Open up that file and add a title, such as "Example Landing Page".
<!DOCTYPE html>
<html lang="en">
  <head>
    <meta charset="UTF-8" />
    <link rel="icon" type="image/svg+xml" href="/vite.svg" />
    <meta name="viewport" content="width=device-width, initial-scale=1.0" />
    <title><!-- Add your title here --></title>
  </head>
  <body>
    ..
  </body>
</html>
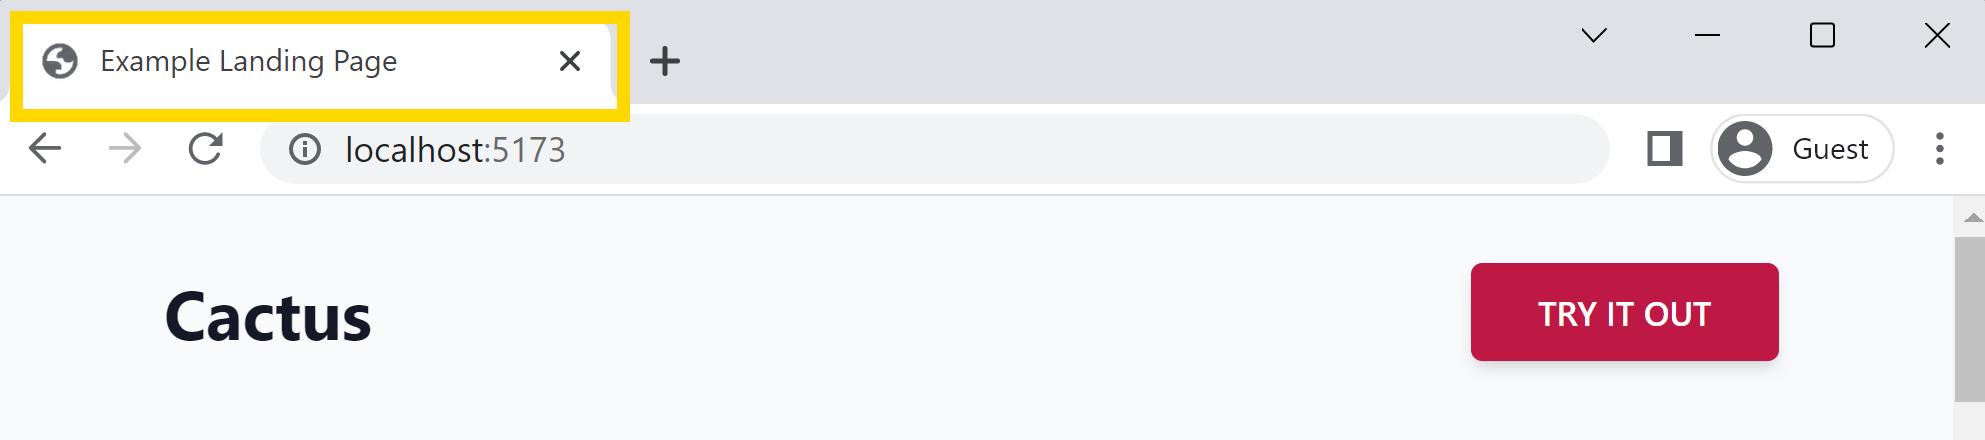
The title will be shown at the top of the page when a user navigates to your site in their browser.
Adding a Site Header
Now you have the Vite application set up and Tailwind CSS installed, you can begin adding content to the App.tsx React component.
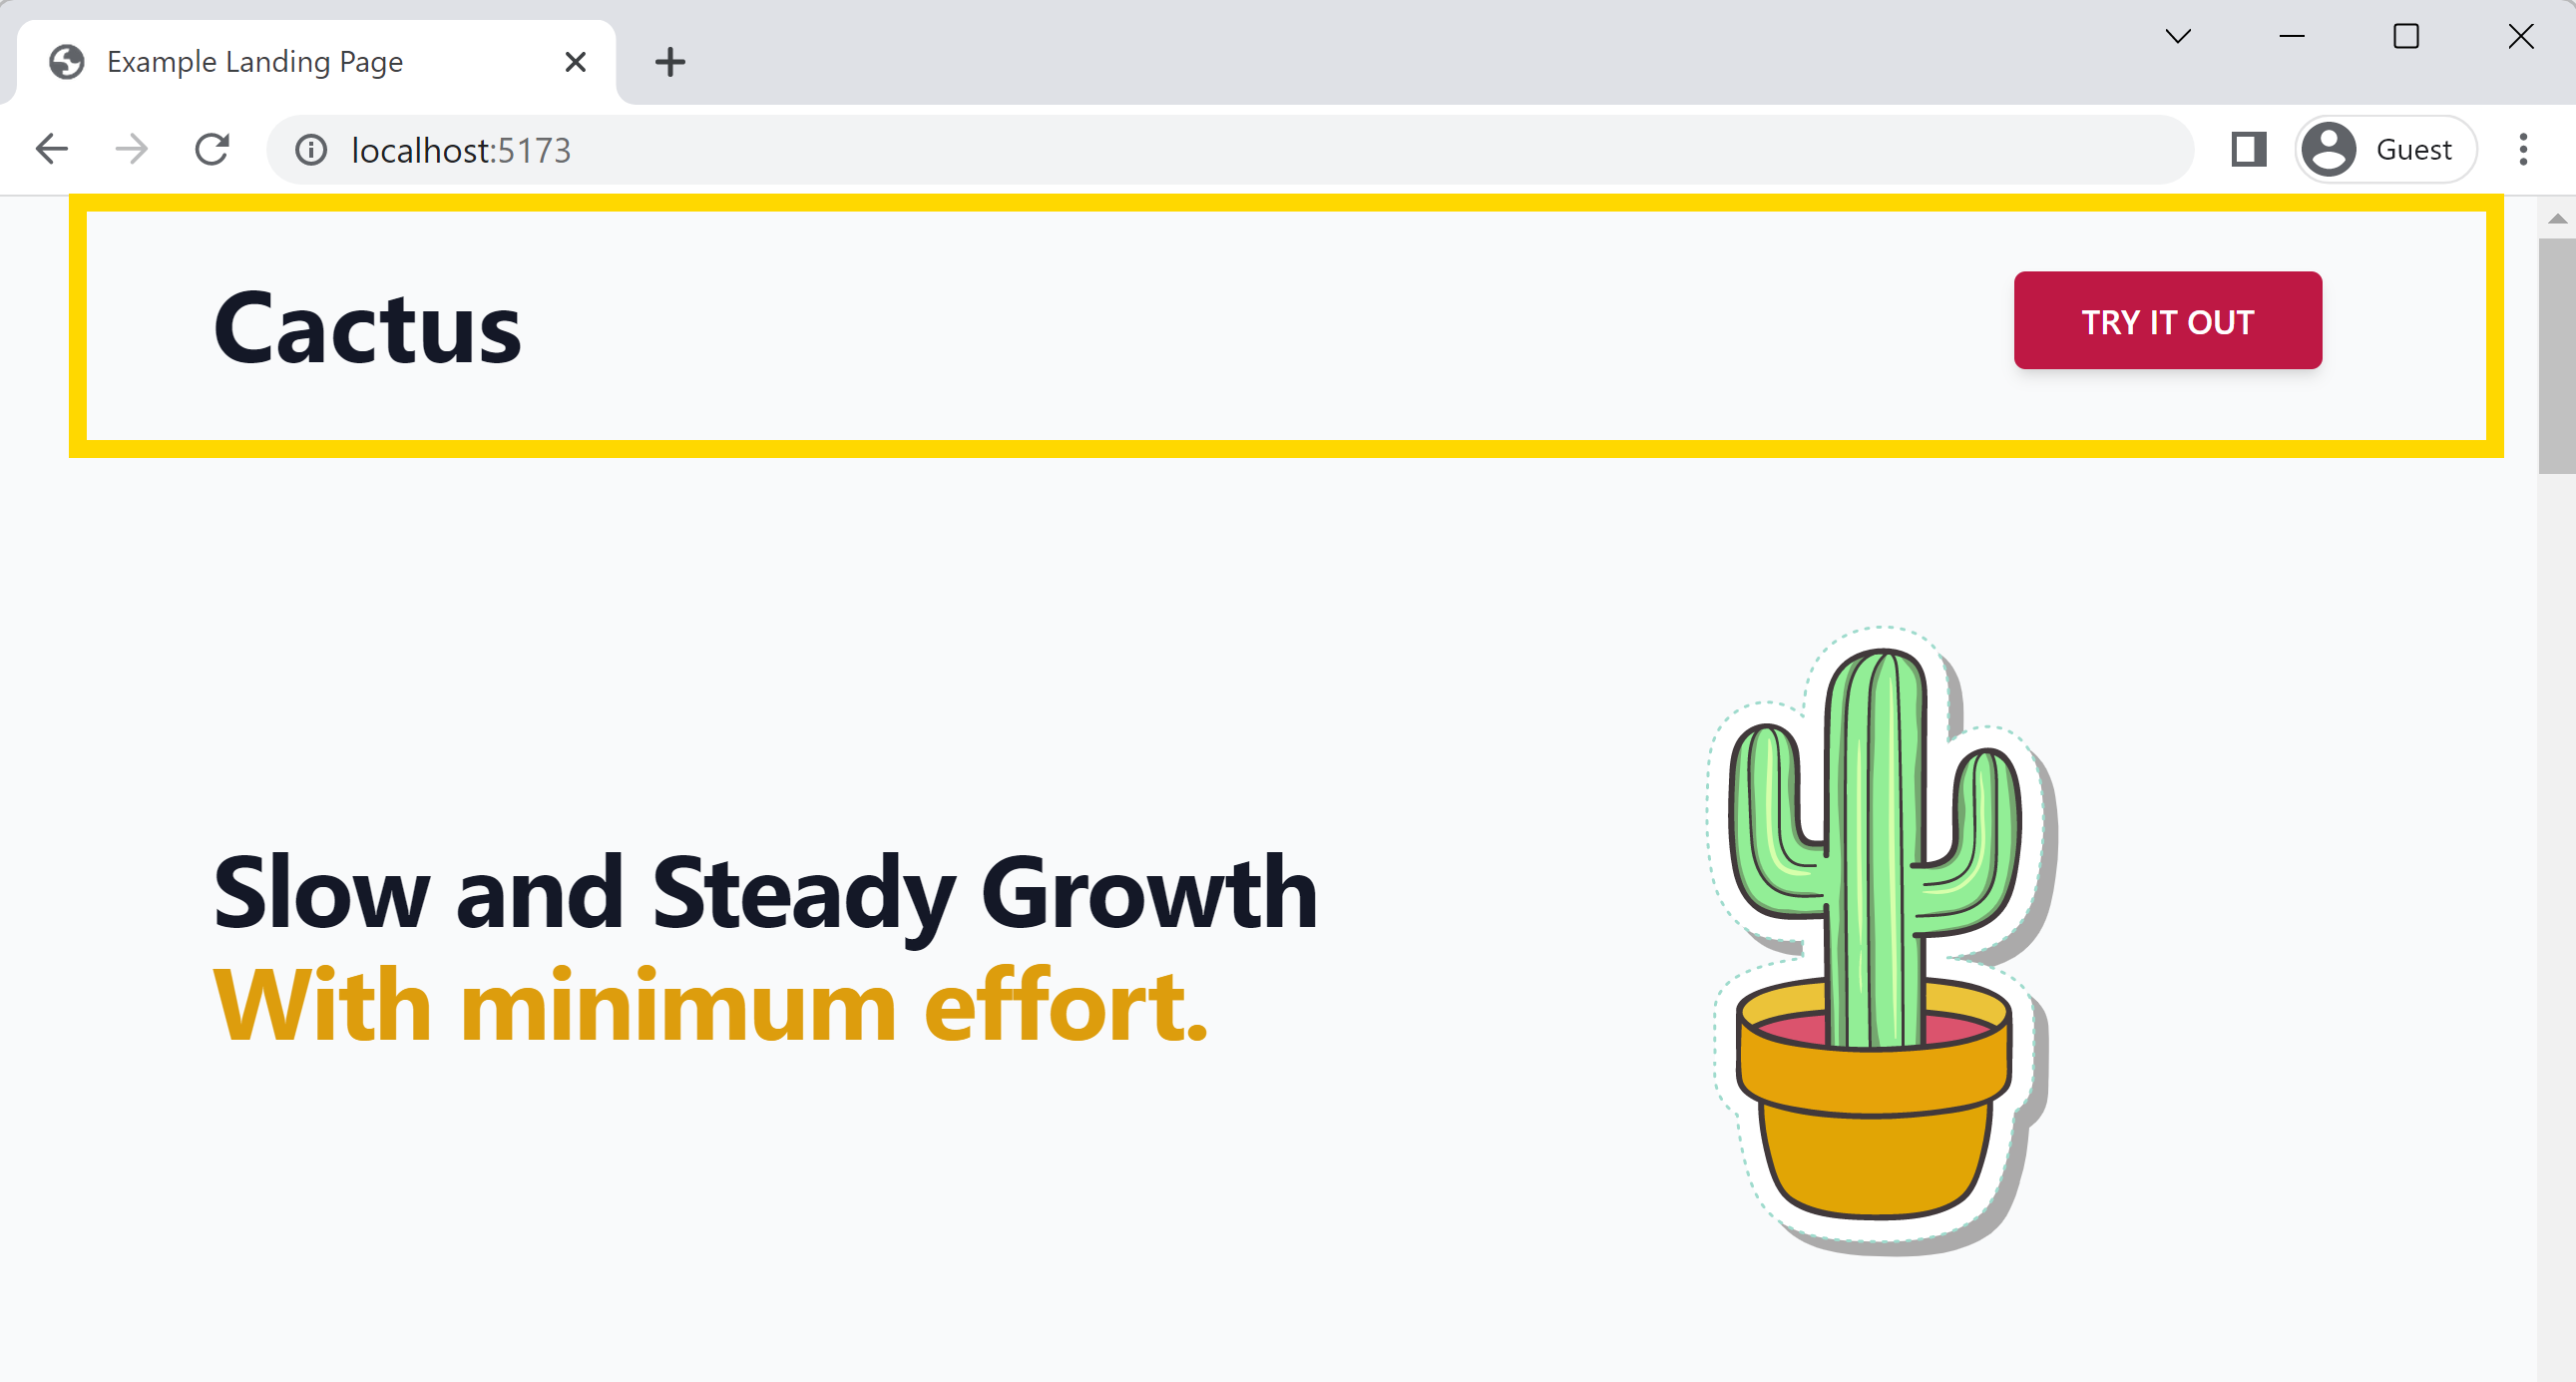
To start with, add a site header using the following TSX:
import { useState } from 'react'
import './App.css'

function App() {
  return <main className="bg-gray-50">
    <div className="container mx-auto p-6">

      <div className="w-full flex items-center justify-between">
        <a className="flex items-center text-gray-900
                    no-underline hover:no-underline font-bold
                    text-2xl lg:text-4xl" href="#">
          Cactus
        </a>

        <div className="flex w-1/2 justify-end">
          <div className="">
            <button type="button" className="inline-block
                  px-6 py-2.5 bg-rose-600 text-white
                  font-medium text-xs leading-tight
                  uppercase rounded shadow-md hover:bg-rose-700
                  hover:shadow-lg focus:bg-rose-700
                  focus:shadow-lg focus:outline-none
                  focus:ring-0 active:bg-rose-800 active:shadow-lg
                  transition duration-150 ease-in-out">Try It Out</button>
          </div>
        </div>
      </div>
    </div>
  </main>
}

export default App
Now this is a lot of CSS classes to create the header. One downside of Tailwind CSS is that the number of CSS classes on your elements can get a little verbose. Here is a description of a few of the utility classes in the example above, however, full documentation can of course be found on Tailwind's website.
| Element | Class Name | Purpose |
|---|---|---|
| <main> | bg-gray-50 | Set the background colour of our landing page to grey |
| <div> | container mx-auto | The container that wraps both the title and the button, with automatic margins |
| <a> | text-gray-900 no-underline hover:no-underline | The page title ("Cactus") element, with grey text and an underline applied when we hover over with the mouse |
| <button> | hover:bg-rose-700 hover:shadow-lg | Our "Try it Out" button has a lot of Tailwind classes applied, these two change the background colour and elevate the button with a drop shadow when we hover over it |
Why not head over to the demo of this landing page and hover your mouse over the title and button in the header. You should see how the hover:* utility classes on here are all that are required to change the styles of these elements whilst the mouse is over them.
Adding the Hero section
The next part of our landing page is called the Hero Section. This is a common name used in web design to denote a part of the layout that is large, bold and in-your-face (like a superhero).
For our hero section, instead of writing out all the Tailwind classes manually head over to tailwindui.com and grab the code for the example CTA section. This example is free and you can paste the React JSX code directly into your App.tsx component:
<div className="mx-auto container p-6
                lg:flex lg:items-center lg:justify-between">
  <h2 className="text-3xl font-bold tracking-tight
                  text-gray-900 sm:text-4xl">
    <span className="block">Slow and Steady Growth</span>
    <span className="block text-amber-500">With minimum effort.</span>
  </h2>
  <div className="mt-8 flex lg:mt-0 lg:flex-shrink-0">
    IMAGE
  </div>
</div>
Replace the text inside the two <span className="block">...<span> tags with the text for your landing page. You will notice in the example above I have also removed the image and replaced it with the text "IMAGE". In the next step we will be adding the animated cactus into this space.
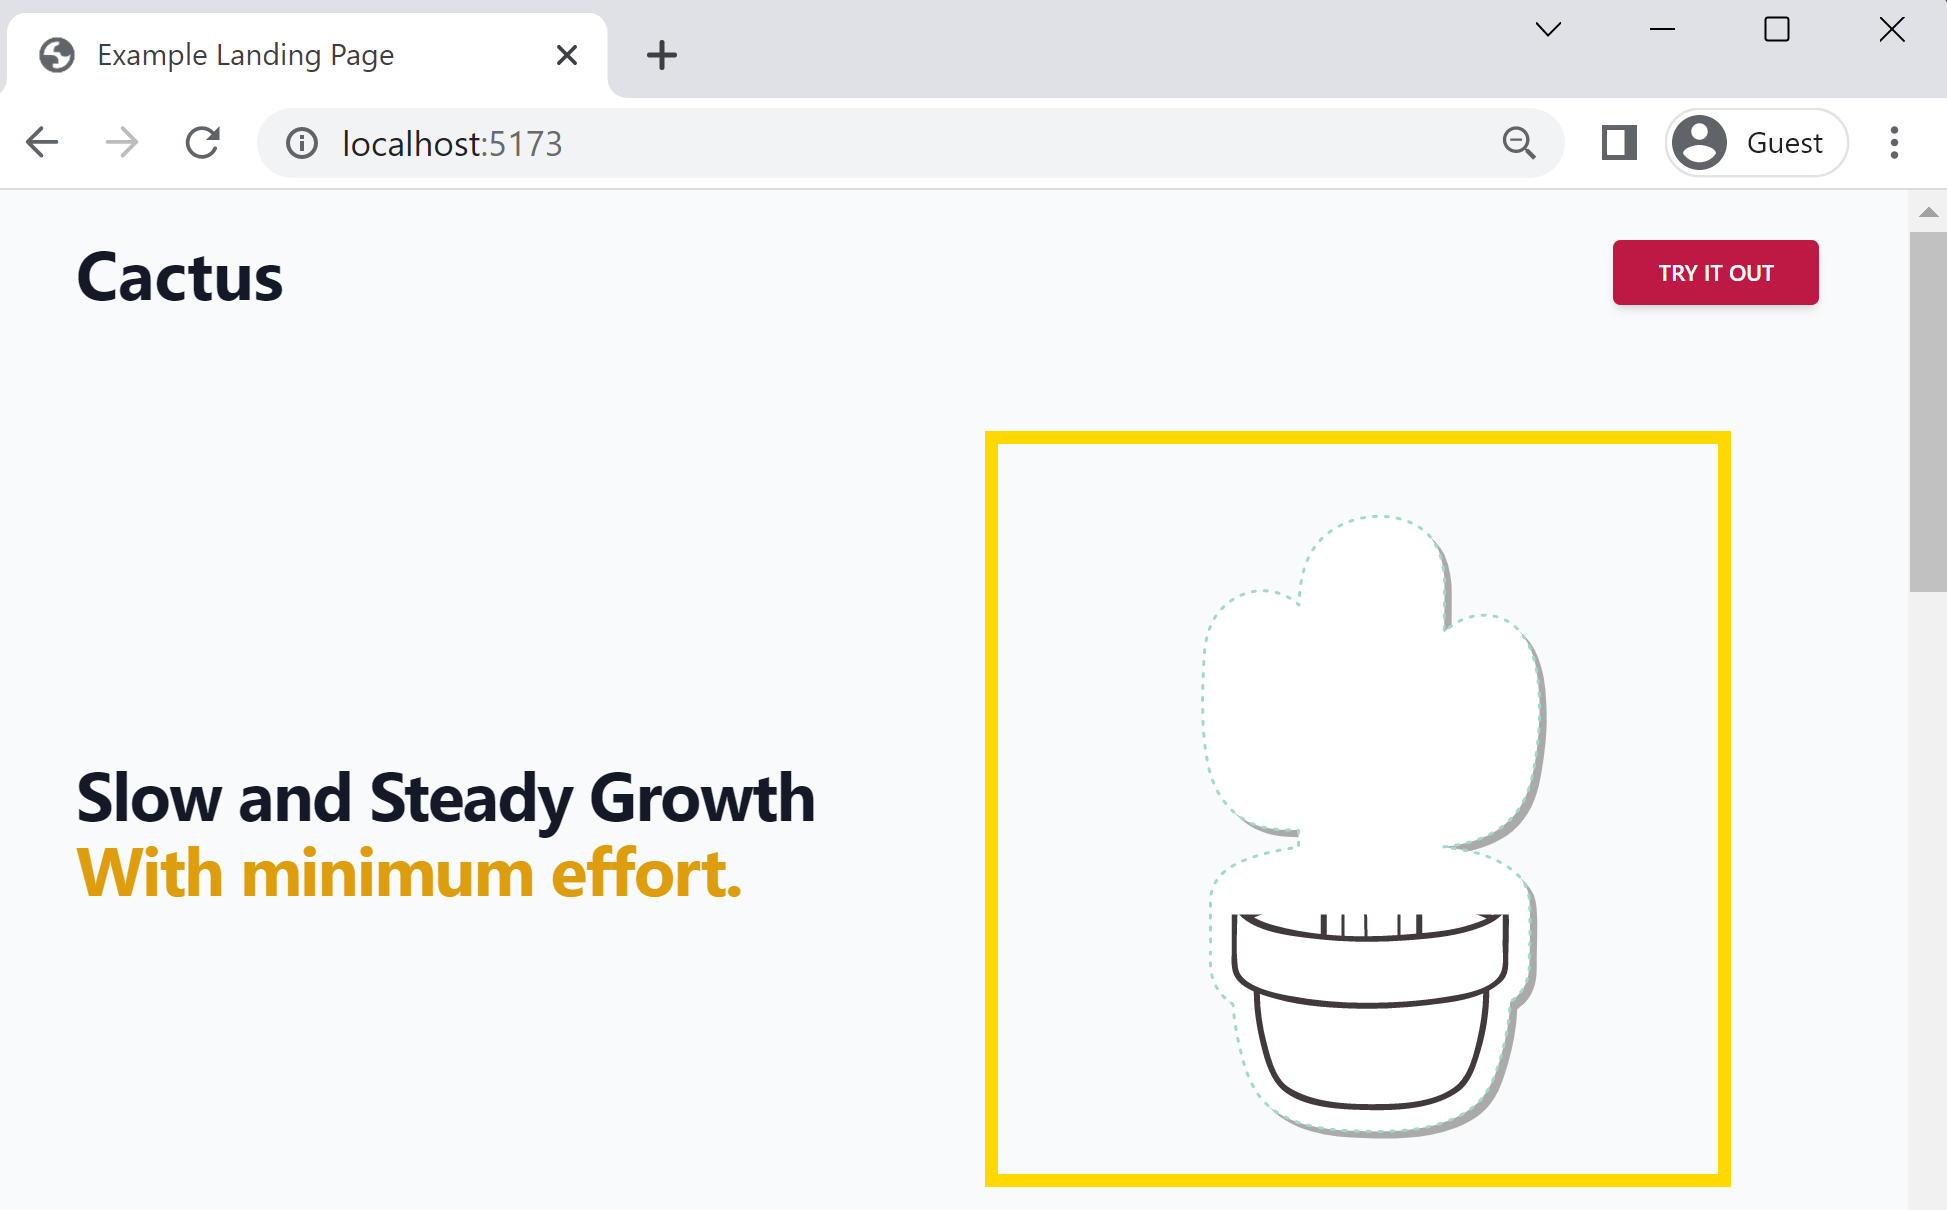
Adding the Cactus Animation
If you check out the demo you will notice the cactus appearing to draw itself onto the page when the landing page is first rendered in the browser. This is done with the help of an open source animation library that is rapidly becoming the new standard for animated SVG content on the web: Lottie.
Lottie is a Javascript animation library that allows us to display an animation that was created in Adobe After Effects, using just a single JSON file. Lottie animations differ from GIFs, MP4s and other video formats in that they use Scalable Vector Graphics to render an animation that is displayed at the highest resolution possible at any size. Lottie files are also extremely small and compact when compared to a GIF or MP4 file, making them perfect for embedding into web applications.
For this landing page you do not need to create the animation yourself, simply head over to lottiefiles.com and pick from a vast selection of free community-developed lottie animations. The cactus animation used in this tutorial is this one by Tom Faber and we will credit Tom in the footer of our website. Download the JSON file and add it into the ./src directory of your project:
src
assets
- react.svg
- App.css
- App.tsx
- cactus.jsondownloaded lottie JSON file
- index.css
- main.tsx
- vite-env.d.ts
To add this cactus animation to our App.tsx page we can use the npm package lottie-react.
npm install --save lottie-react
import React from 'react'
import './App.css'
// Import the "Lottie" wrapper component at the top of your App.tsx file
import Lottie, { LottieRefCurrentProps } from "lottie-react";
// Import the animation JSON you downloaded
import cactusAnimation from "./cactus.json";


function App() {

  return <main className="bg-gray-50">

    ...
      <div className="mt-8 flex lg:mt-0 lg:flex-shrink-0">

        {/* Add the Lottie animation to your page like this */}
        <Lottie animationData={cactusAnimation} loop={false} />

      </div>
    </div>
}
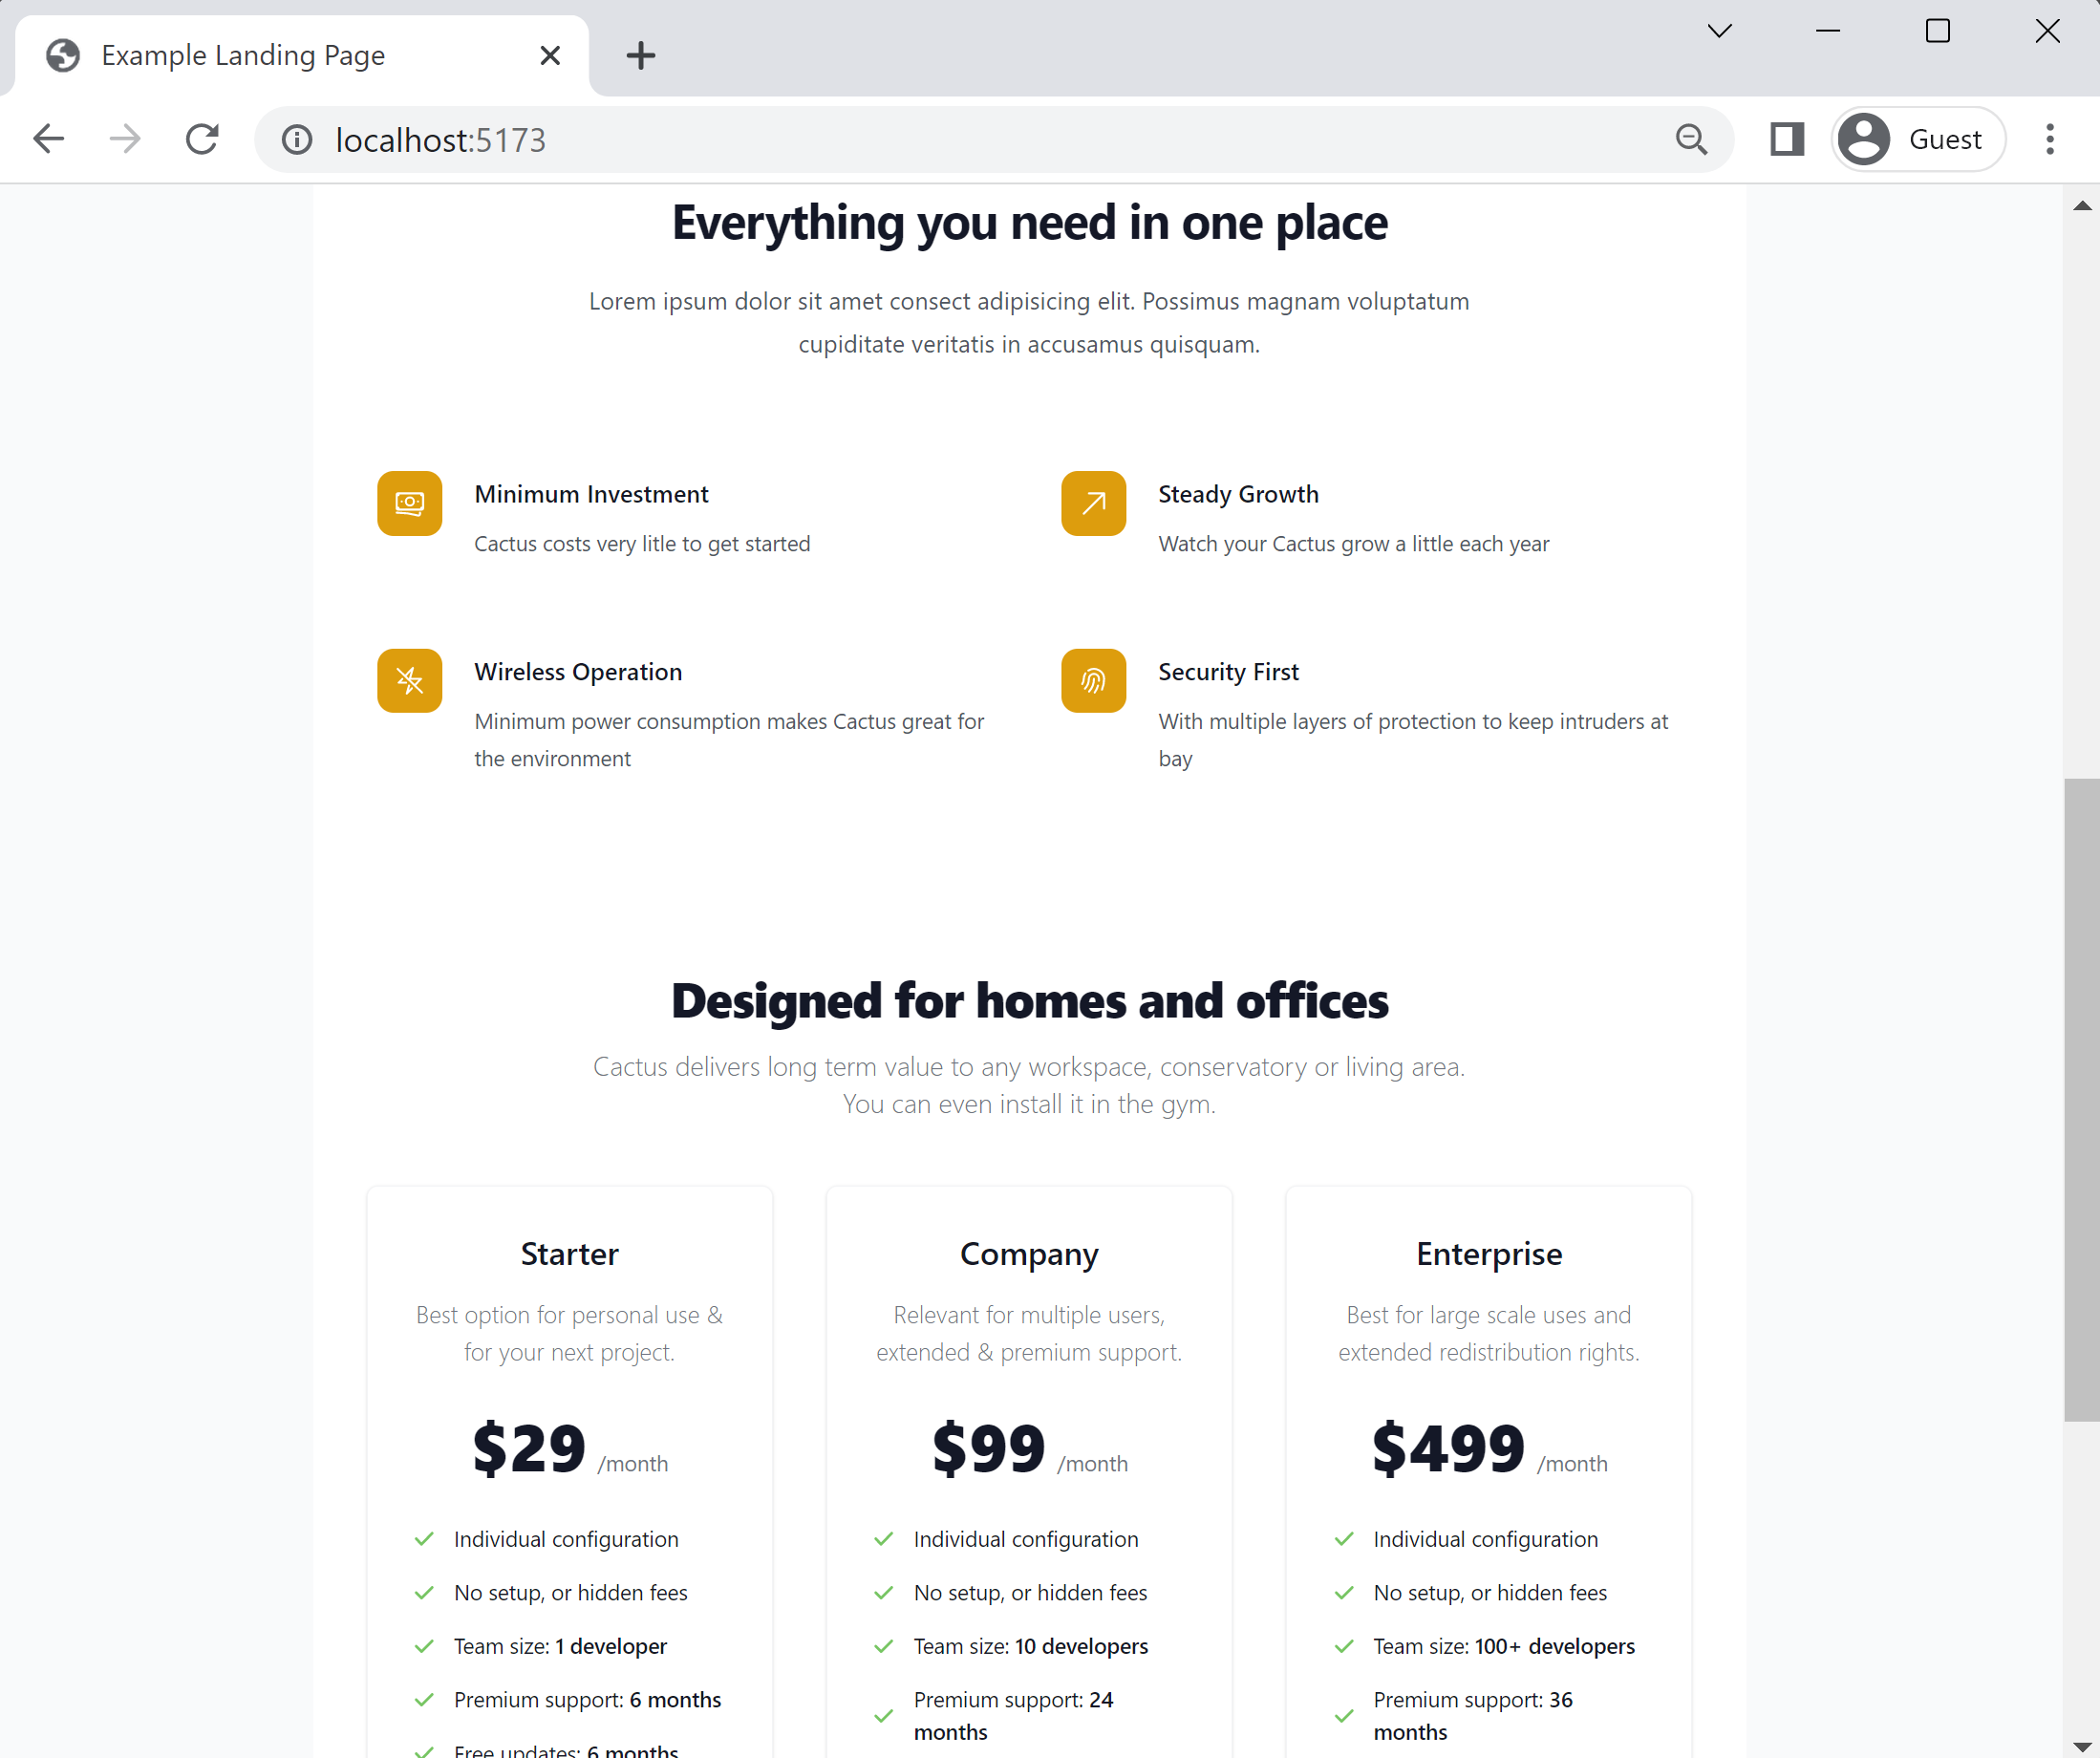
Adding More Content
For the rest of the content of the landing page we are going to use blocks from Flowbite. Flowbite is a set of components built on top of Tailwind CSS that can be easily used in your projects. As we saw earlier, the CSS classes for Tailwind can be quite long and involved, so having some premade "blocks" such as those provided by Flowbite can save a huge amount of time.
Head over to Flowbite and grab the following sections to build out the rest of the landing page:
- Pricing block: flowbite.com/blocks/marketing/pricing/
- Testimonial block: flowbite.com/blocks/marketing/testimonial/
- Footer block: flowbite.com/docs/components/footer/
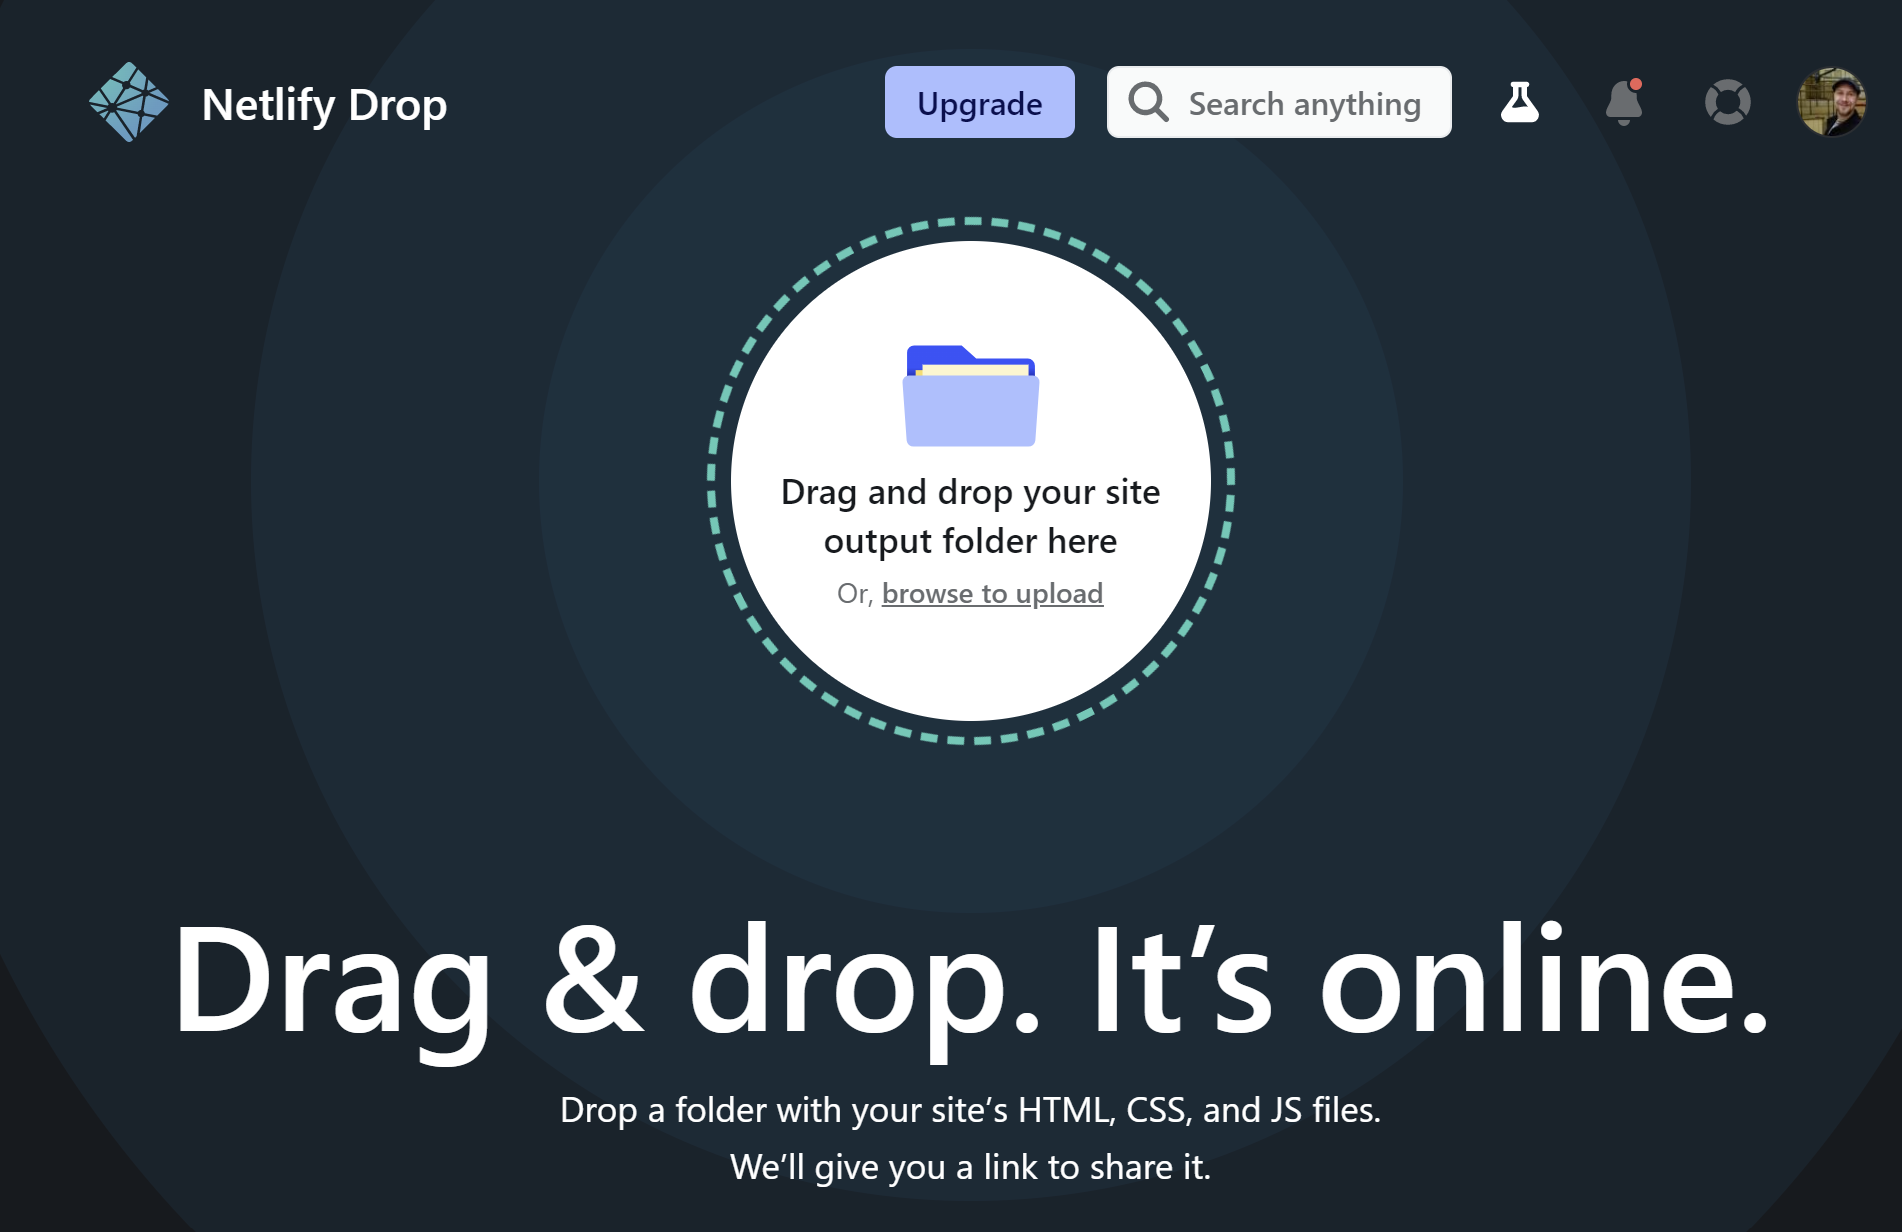
4. Publishing
That's it! You should now have a landing page set up that you can test out in the browser with:
npm run dev
In this next section you are going to deploy your landing page to the static web hosting service Netlify. If you don't already have a Netlify account then go and set one up first, then navigate to app.netlify.com/drop and you should see this:
Building for Production
To get the files you need to serve your landing page website, run a production build of Vite with the following command:
npm run build
This will build you three files in the ./dist directory of your project:
distthis folder will be uploaded to our CDN when we deploy
assets
- index-3fce1f81.css
- index-392a1cbd.js
- index.html
These three files are all that are required to server your website. Upload these files by dragging the ./dist folder directly to Netlify Drop like so:
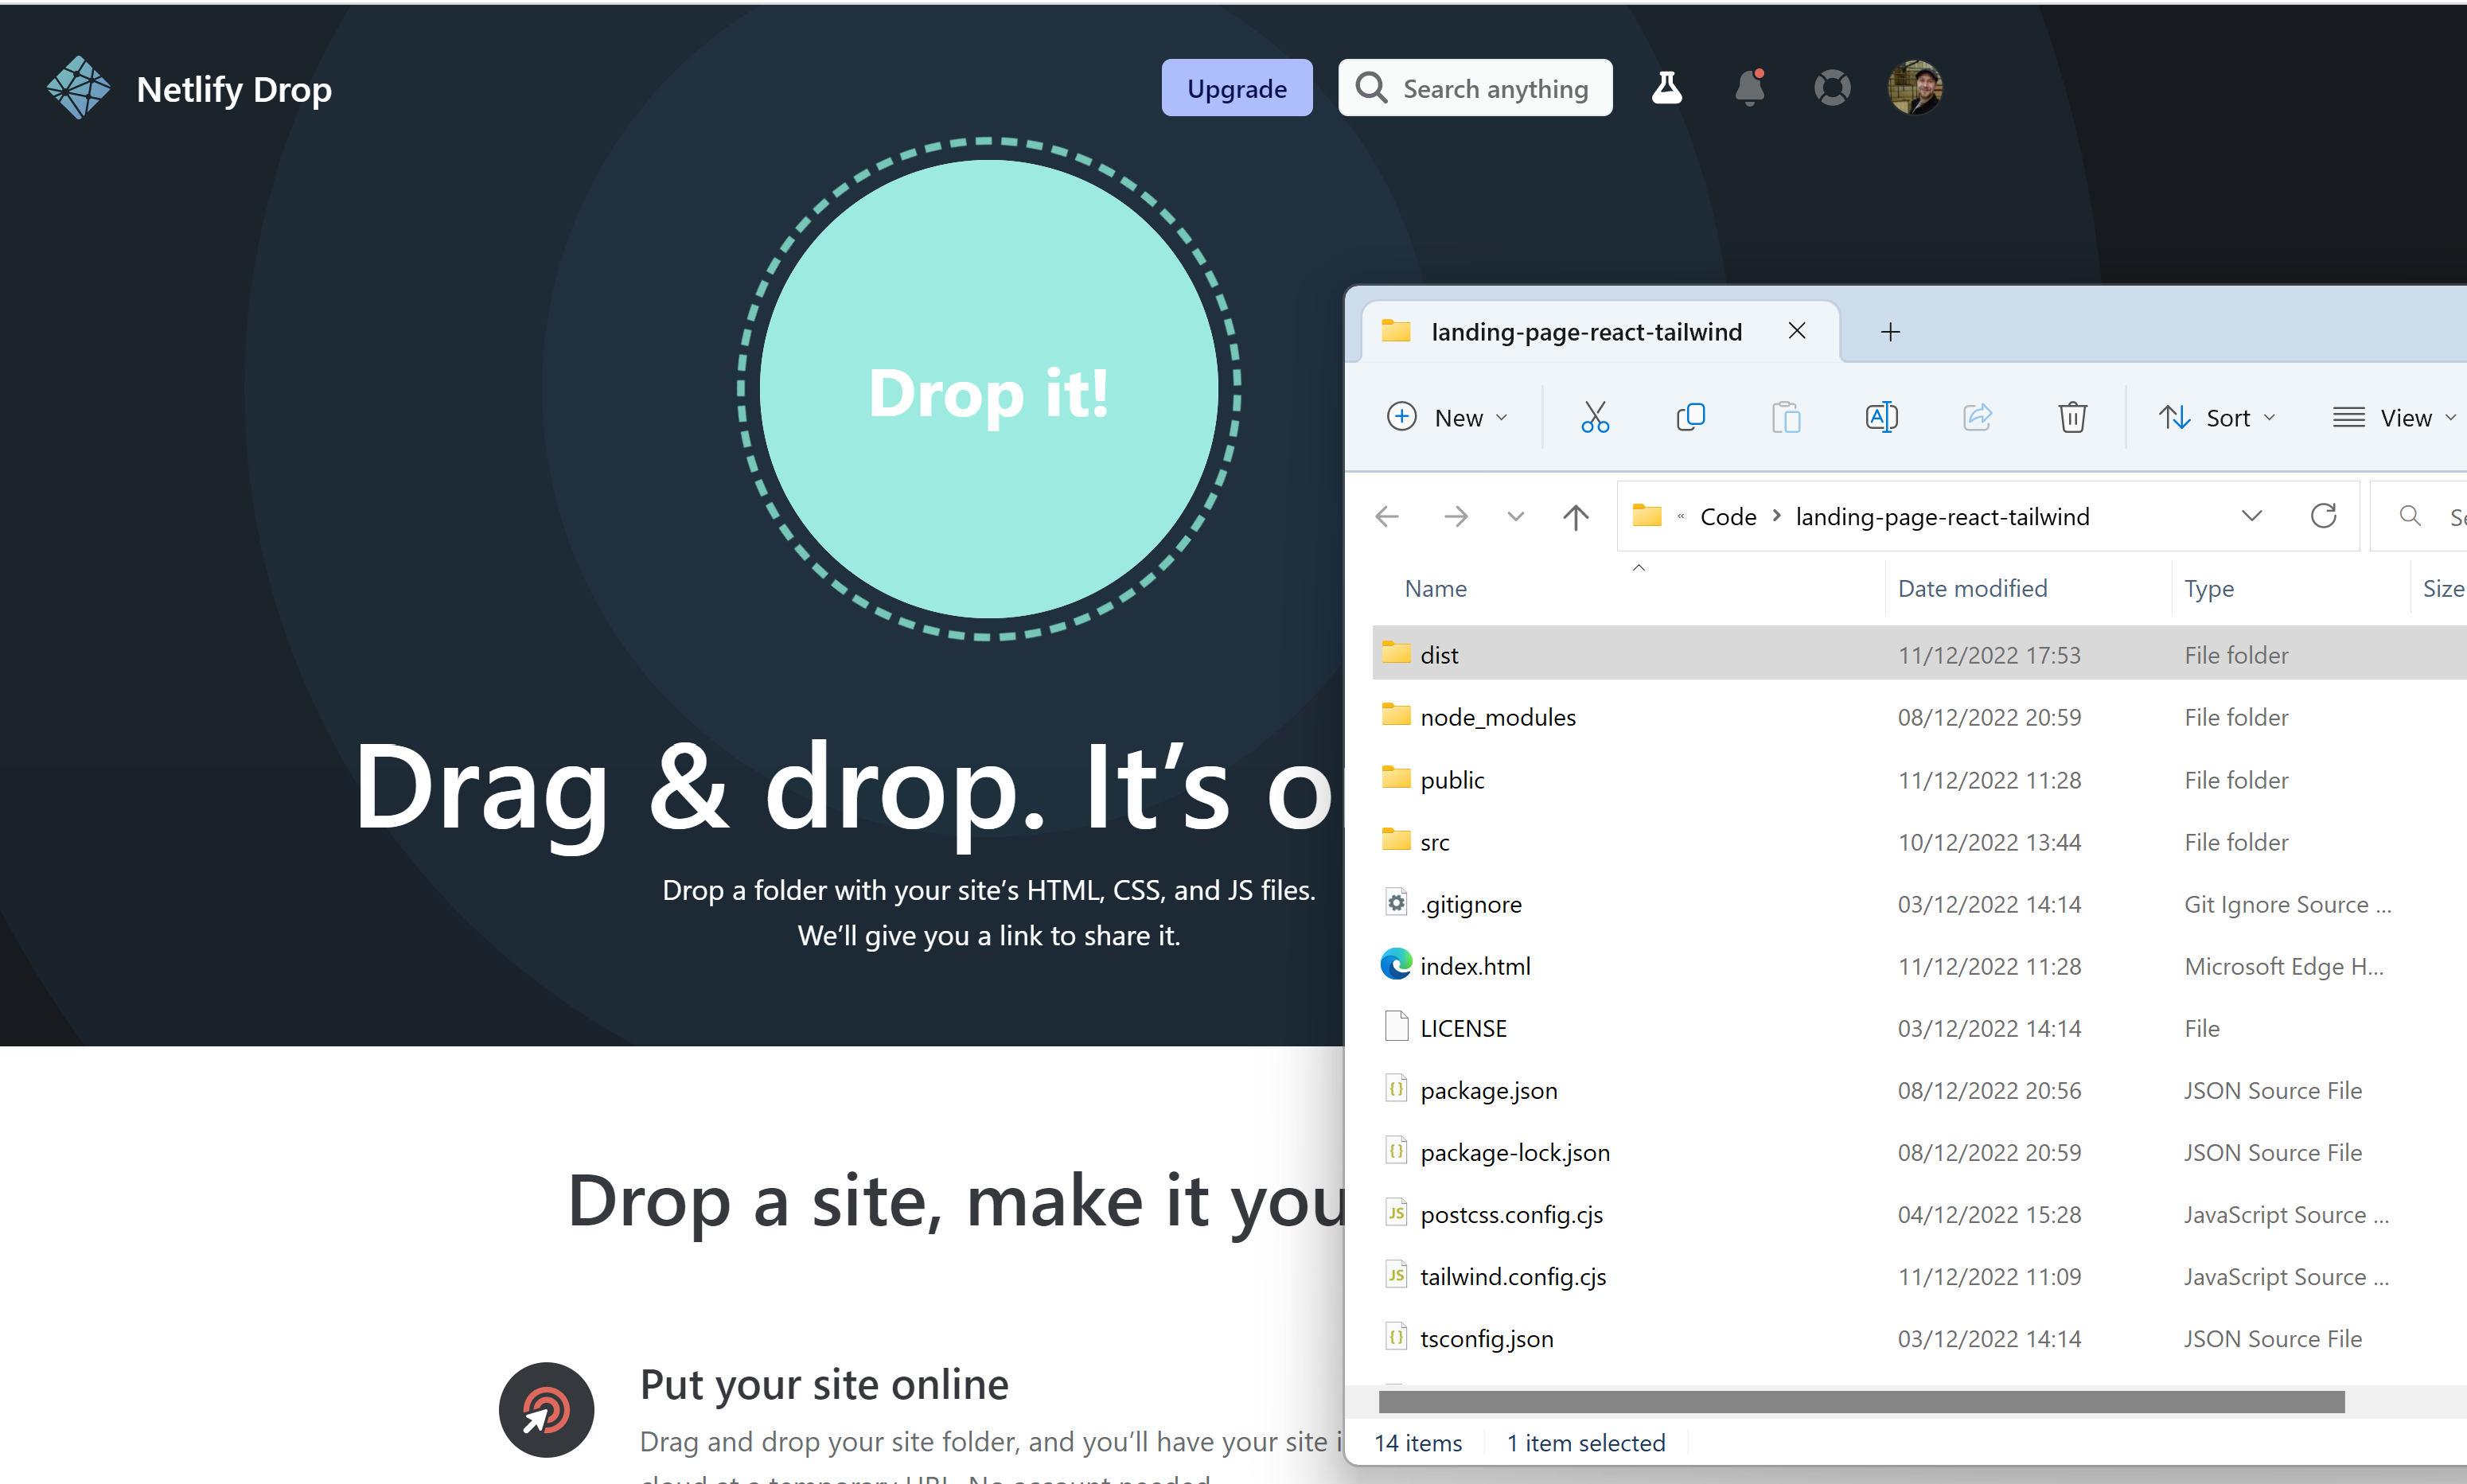
This will only take a few seconds (we don't have many files after all) then you should be presented with the following screen.
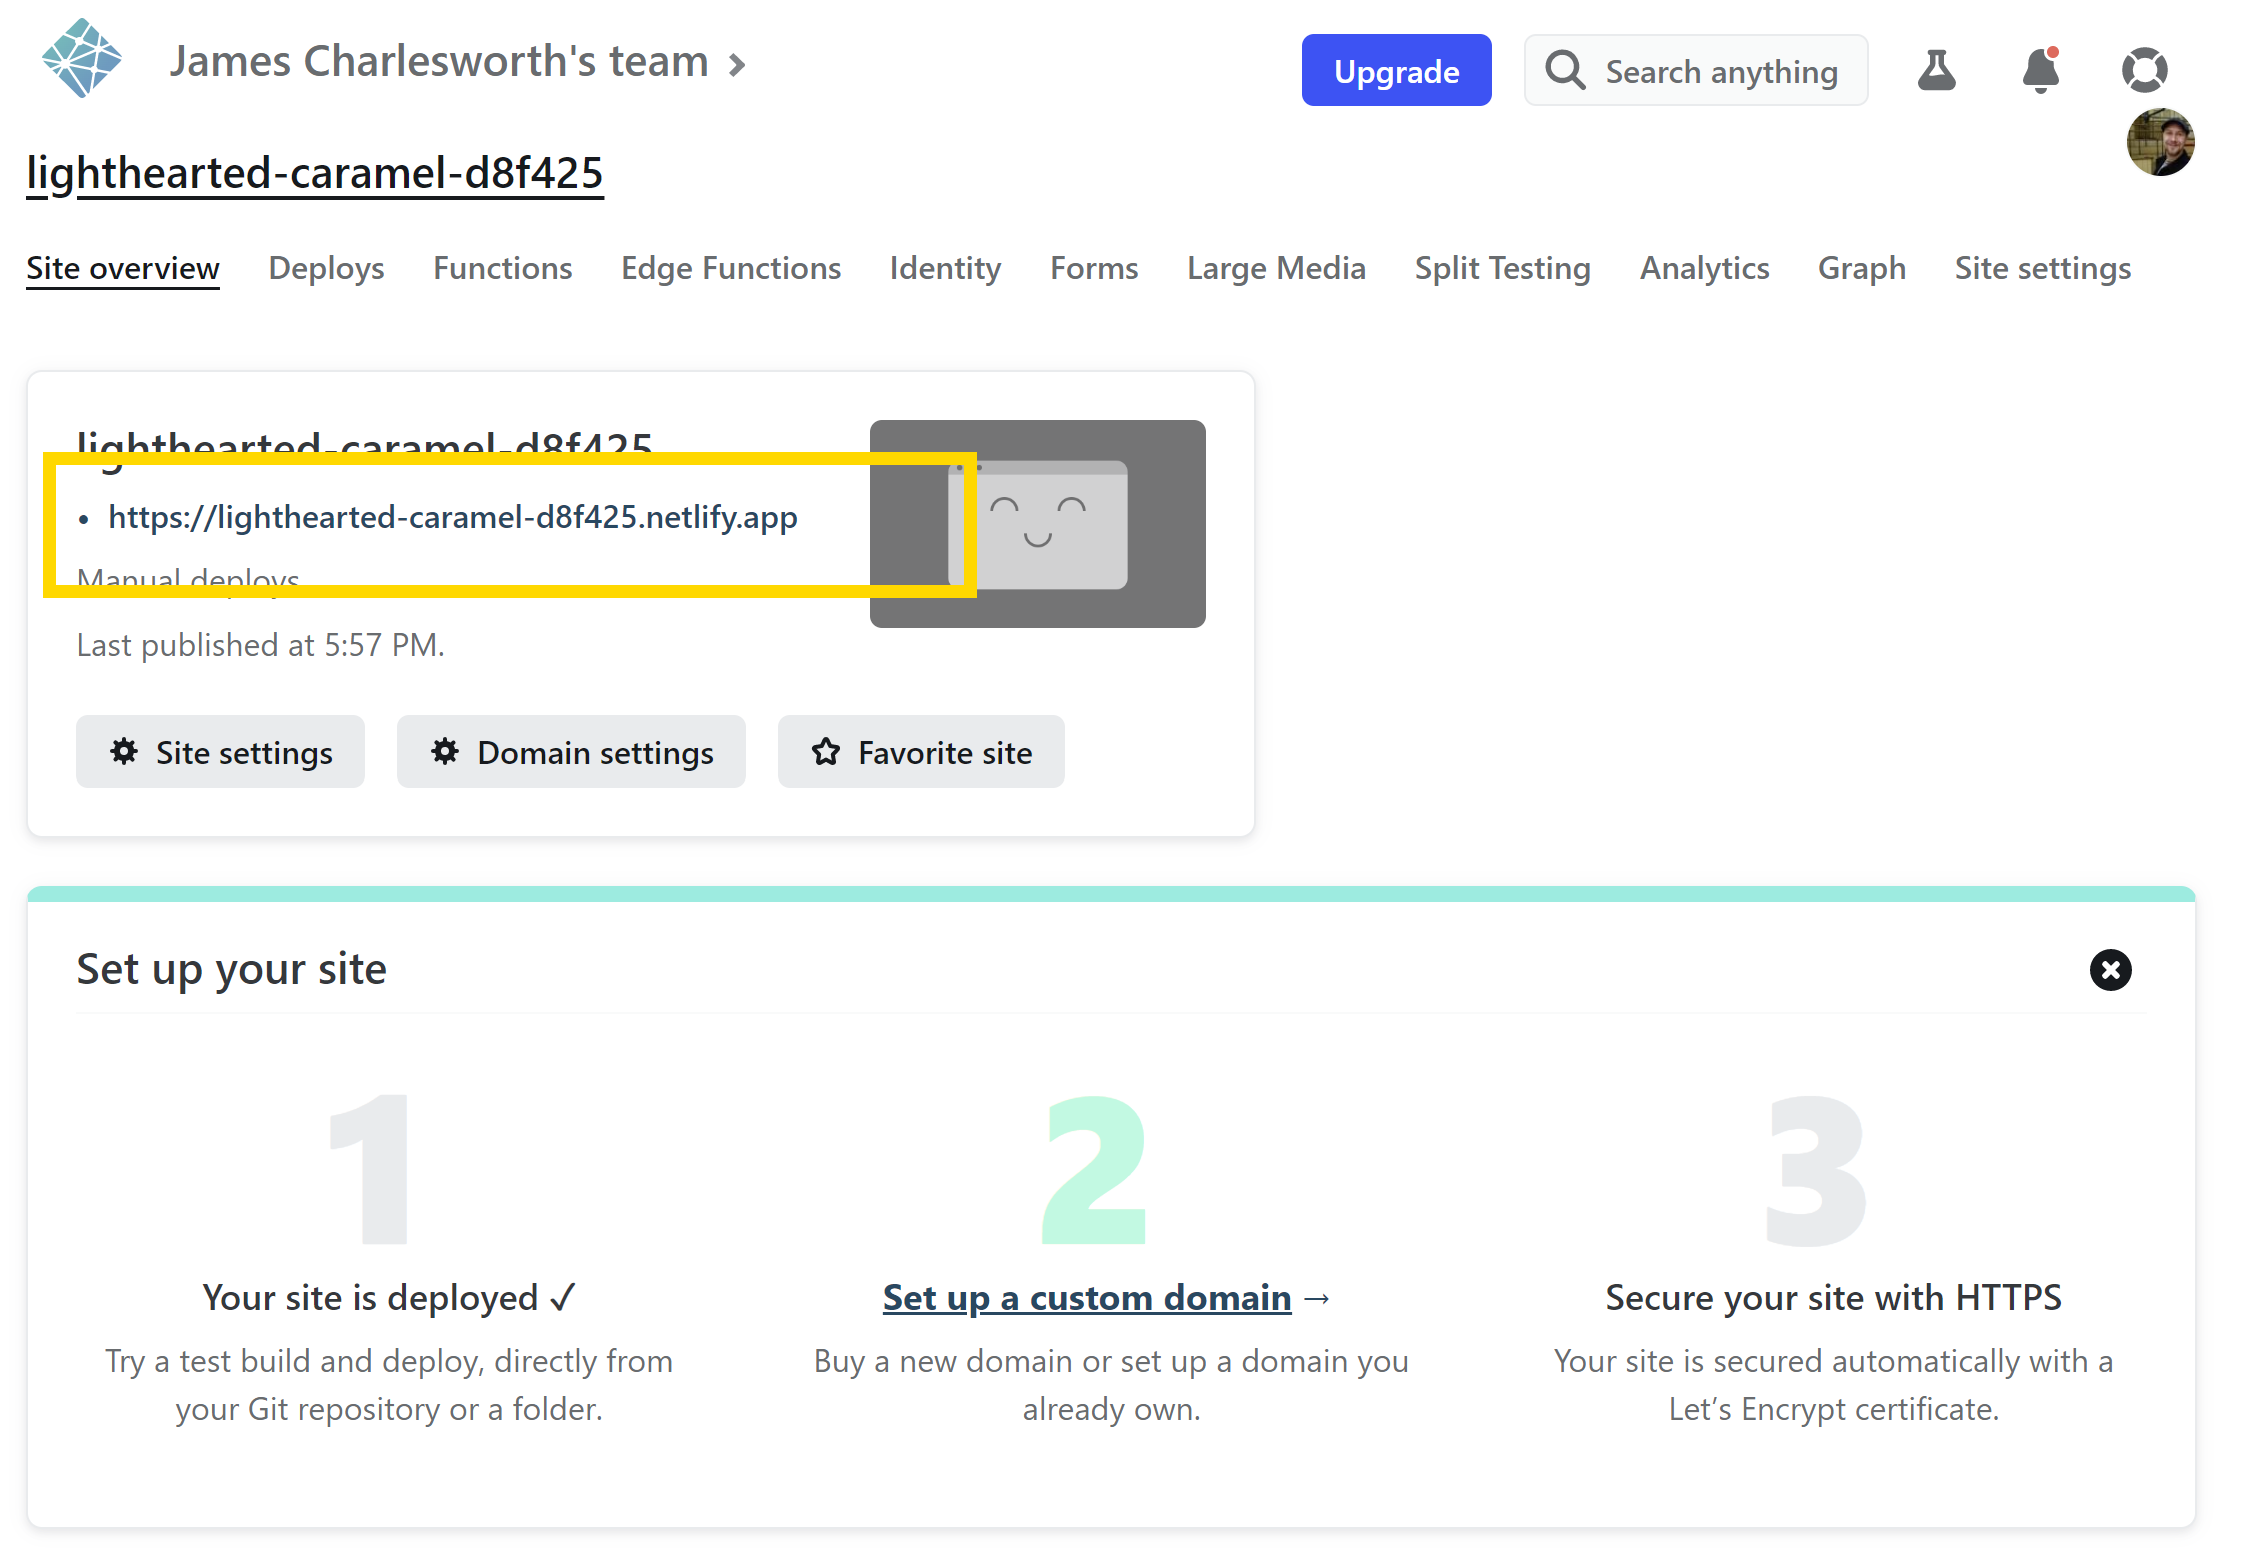
Notice that Netlify has assigned a random domain name to our new website of lighthearted-caramel-d8f425.netlify.app. You can visit this link immediately by clicking on it and you should see your landing page appear.
Linking a Custom domain
While caramel is certainly both lighthearted and delicious, it is probably safe to assume that having lighthearted-caramel-d8f425.netlify.app as the public url for your landing page is not ideal, so let's assign a custom domain.
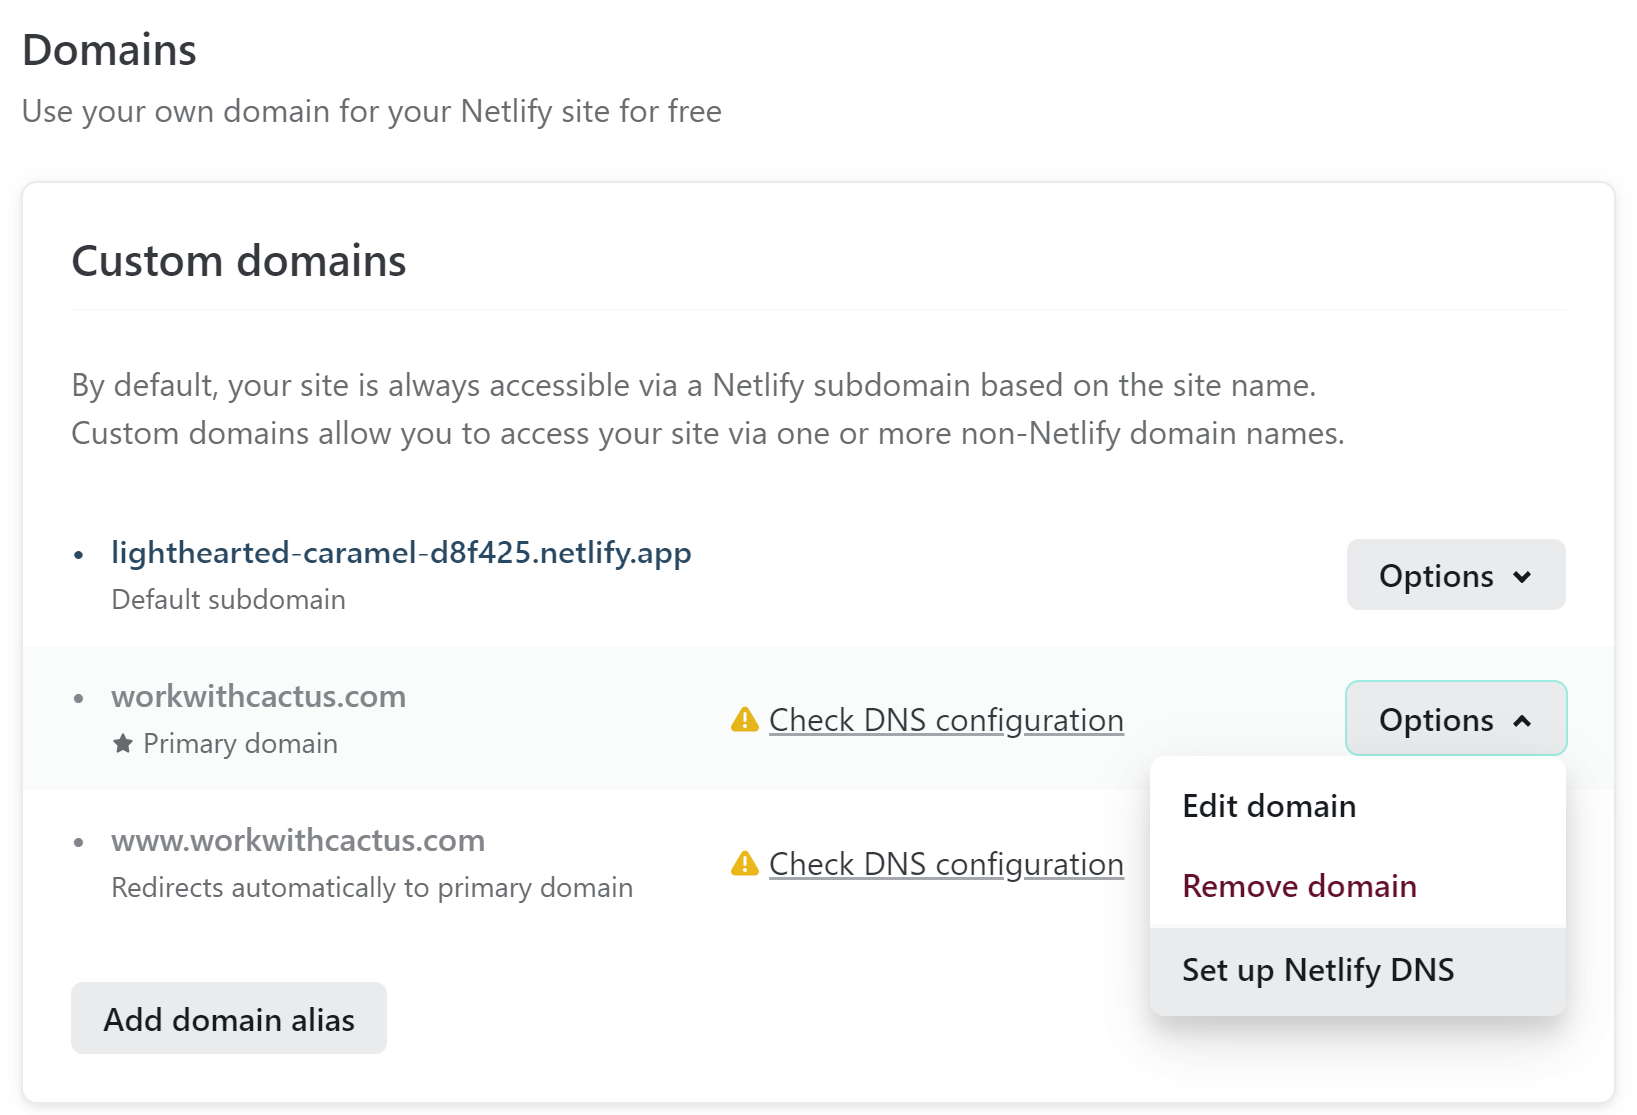
We have gone ahead and purchased workwithcactus.com for the purposes of this example and in the next section will show you how to link this new domain to your Netlify site. First, select "Set up a custom domain" in the Netlify UI and then choose "Set up Netlify DNS" from the drop down menu after entering the name of your custom domain.
Navigate through the domain name setup wizard until you are offered some domain name server addresses.
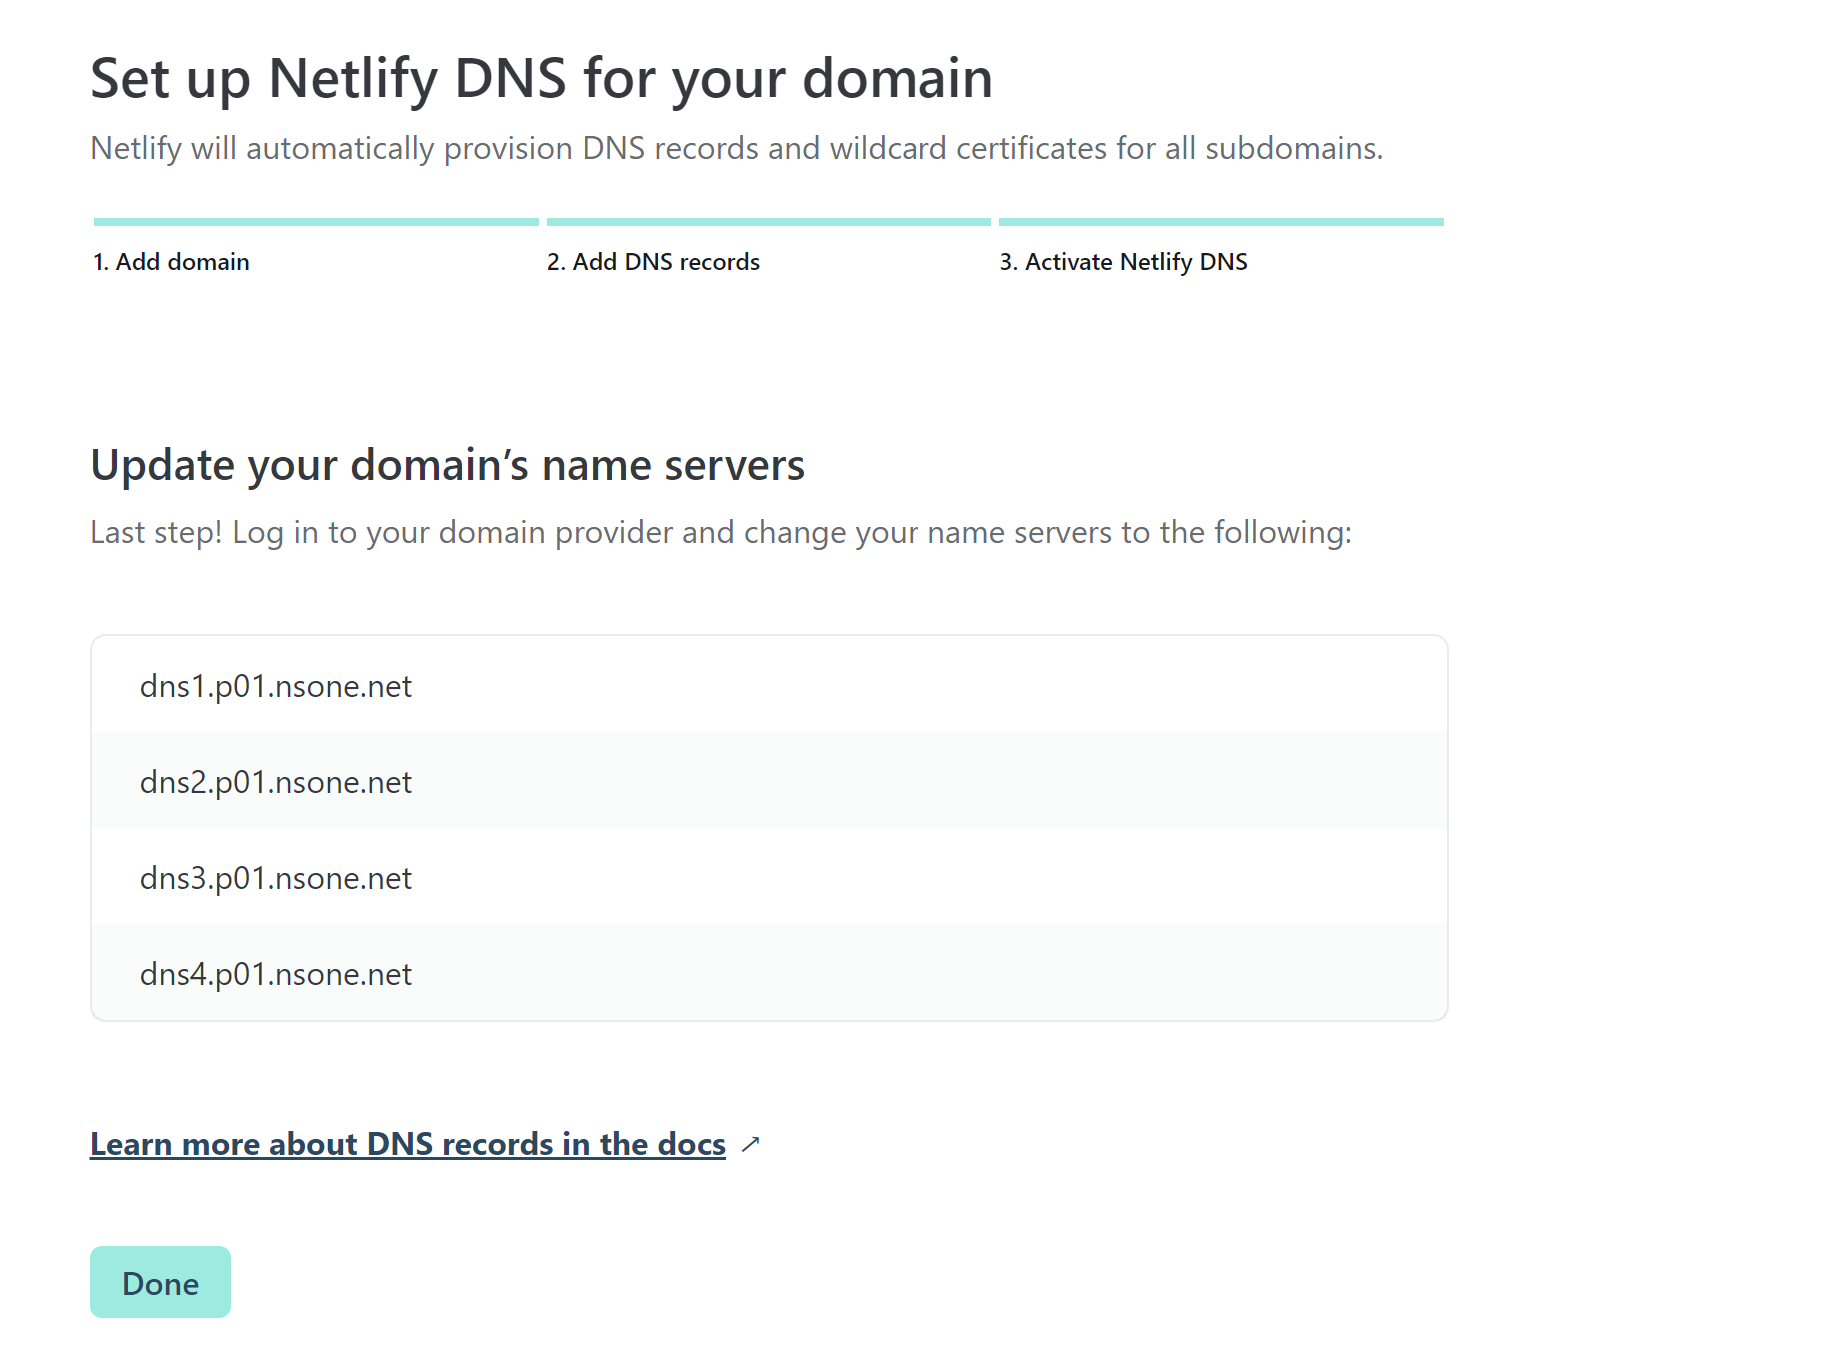
Wherever you purchased your domain name from will have an administration site that will/should allow you to enter these DNS addresses, redirecting all traffic for the domain to Netlify. Here is the example for our workwithcactus.com domain, which is registered with namecheap.com:
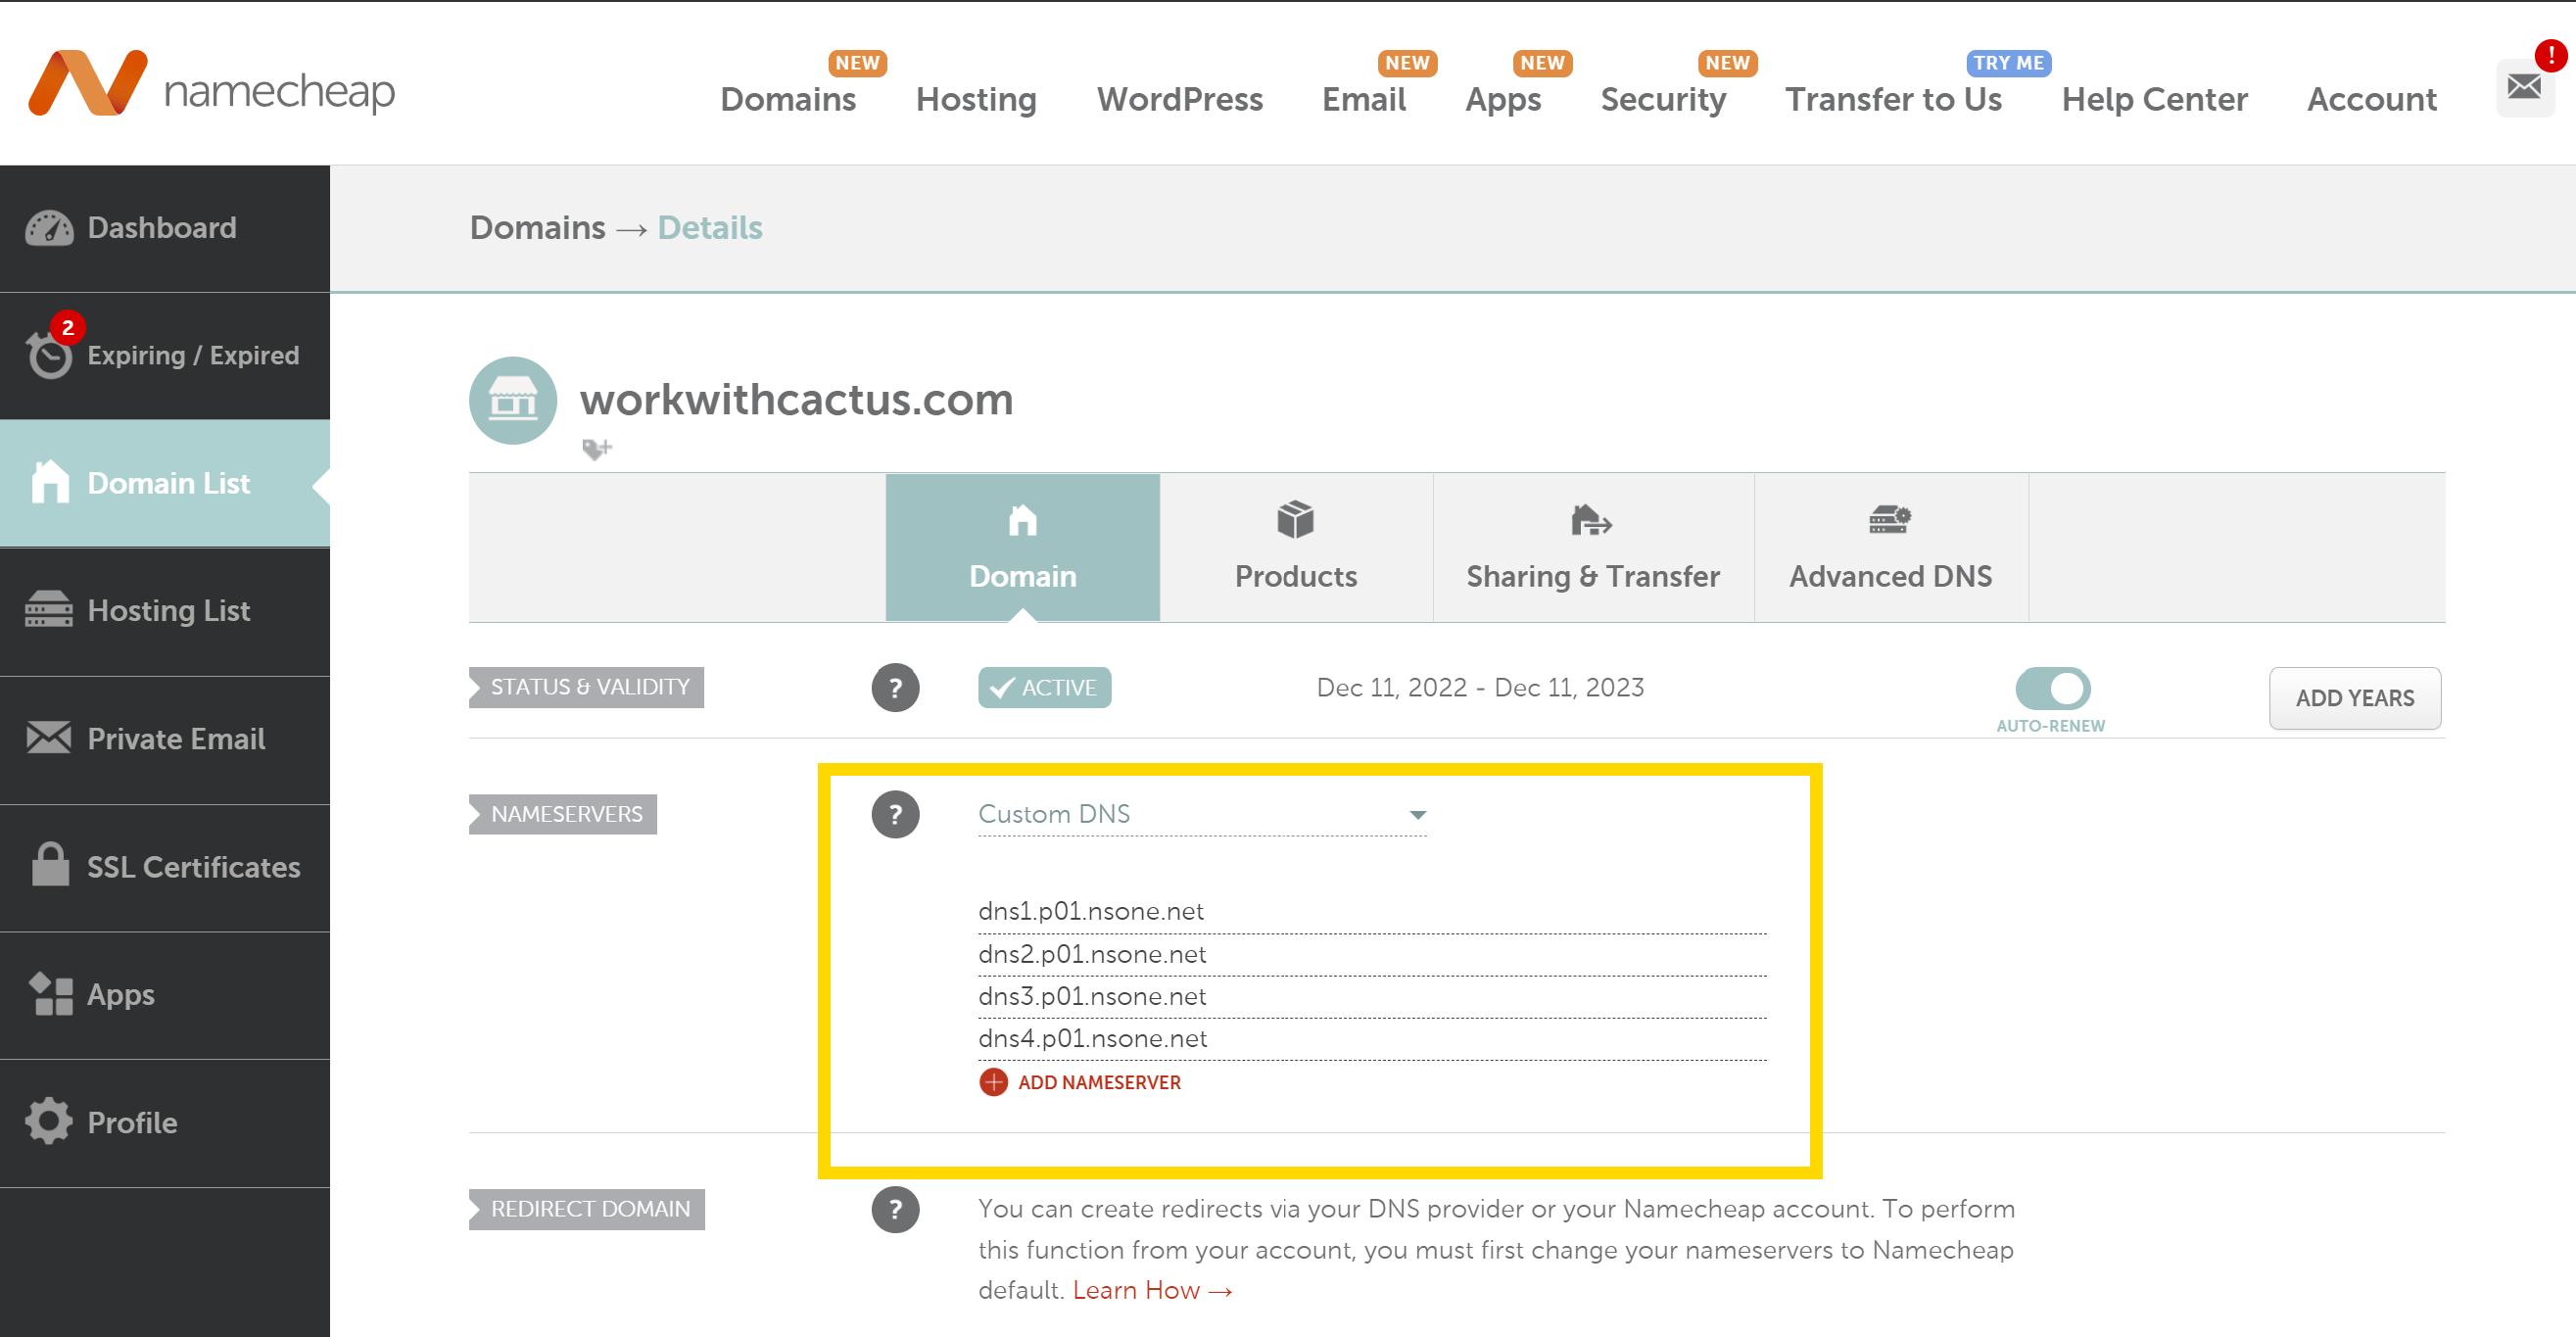
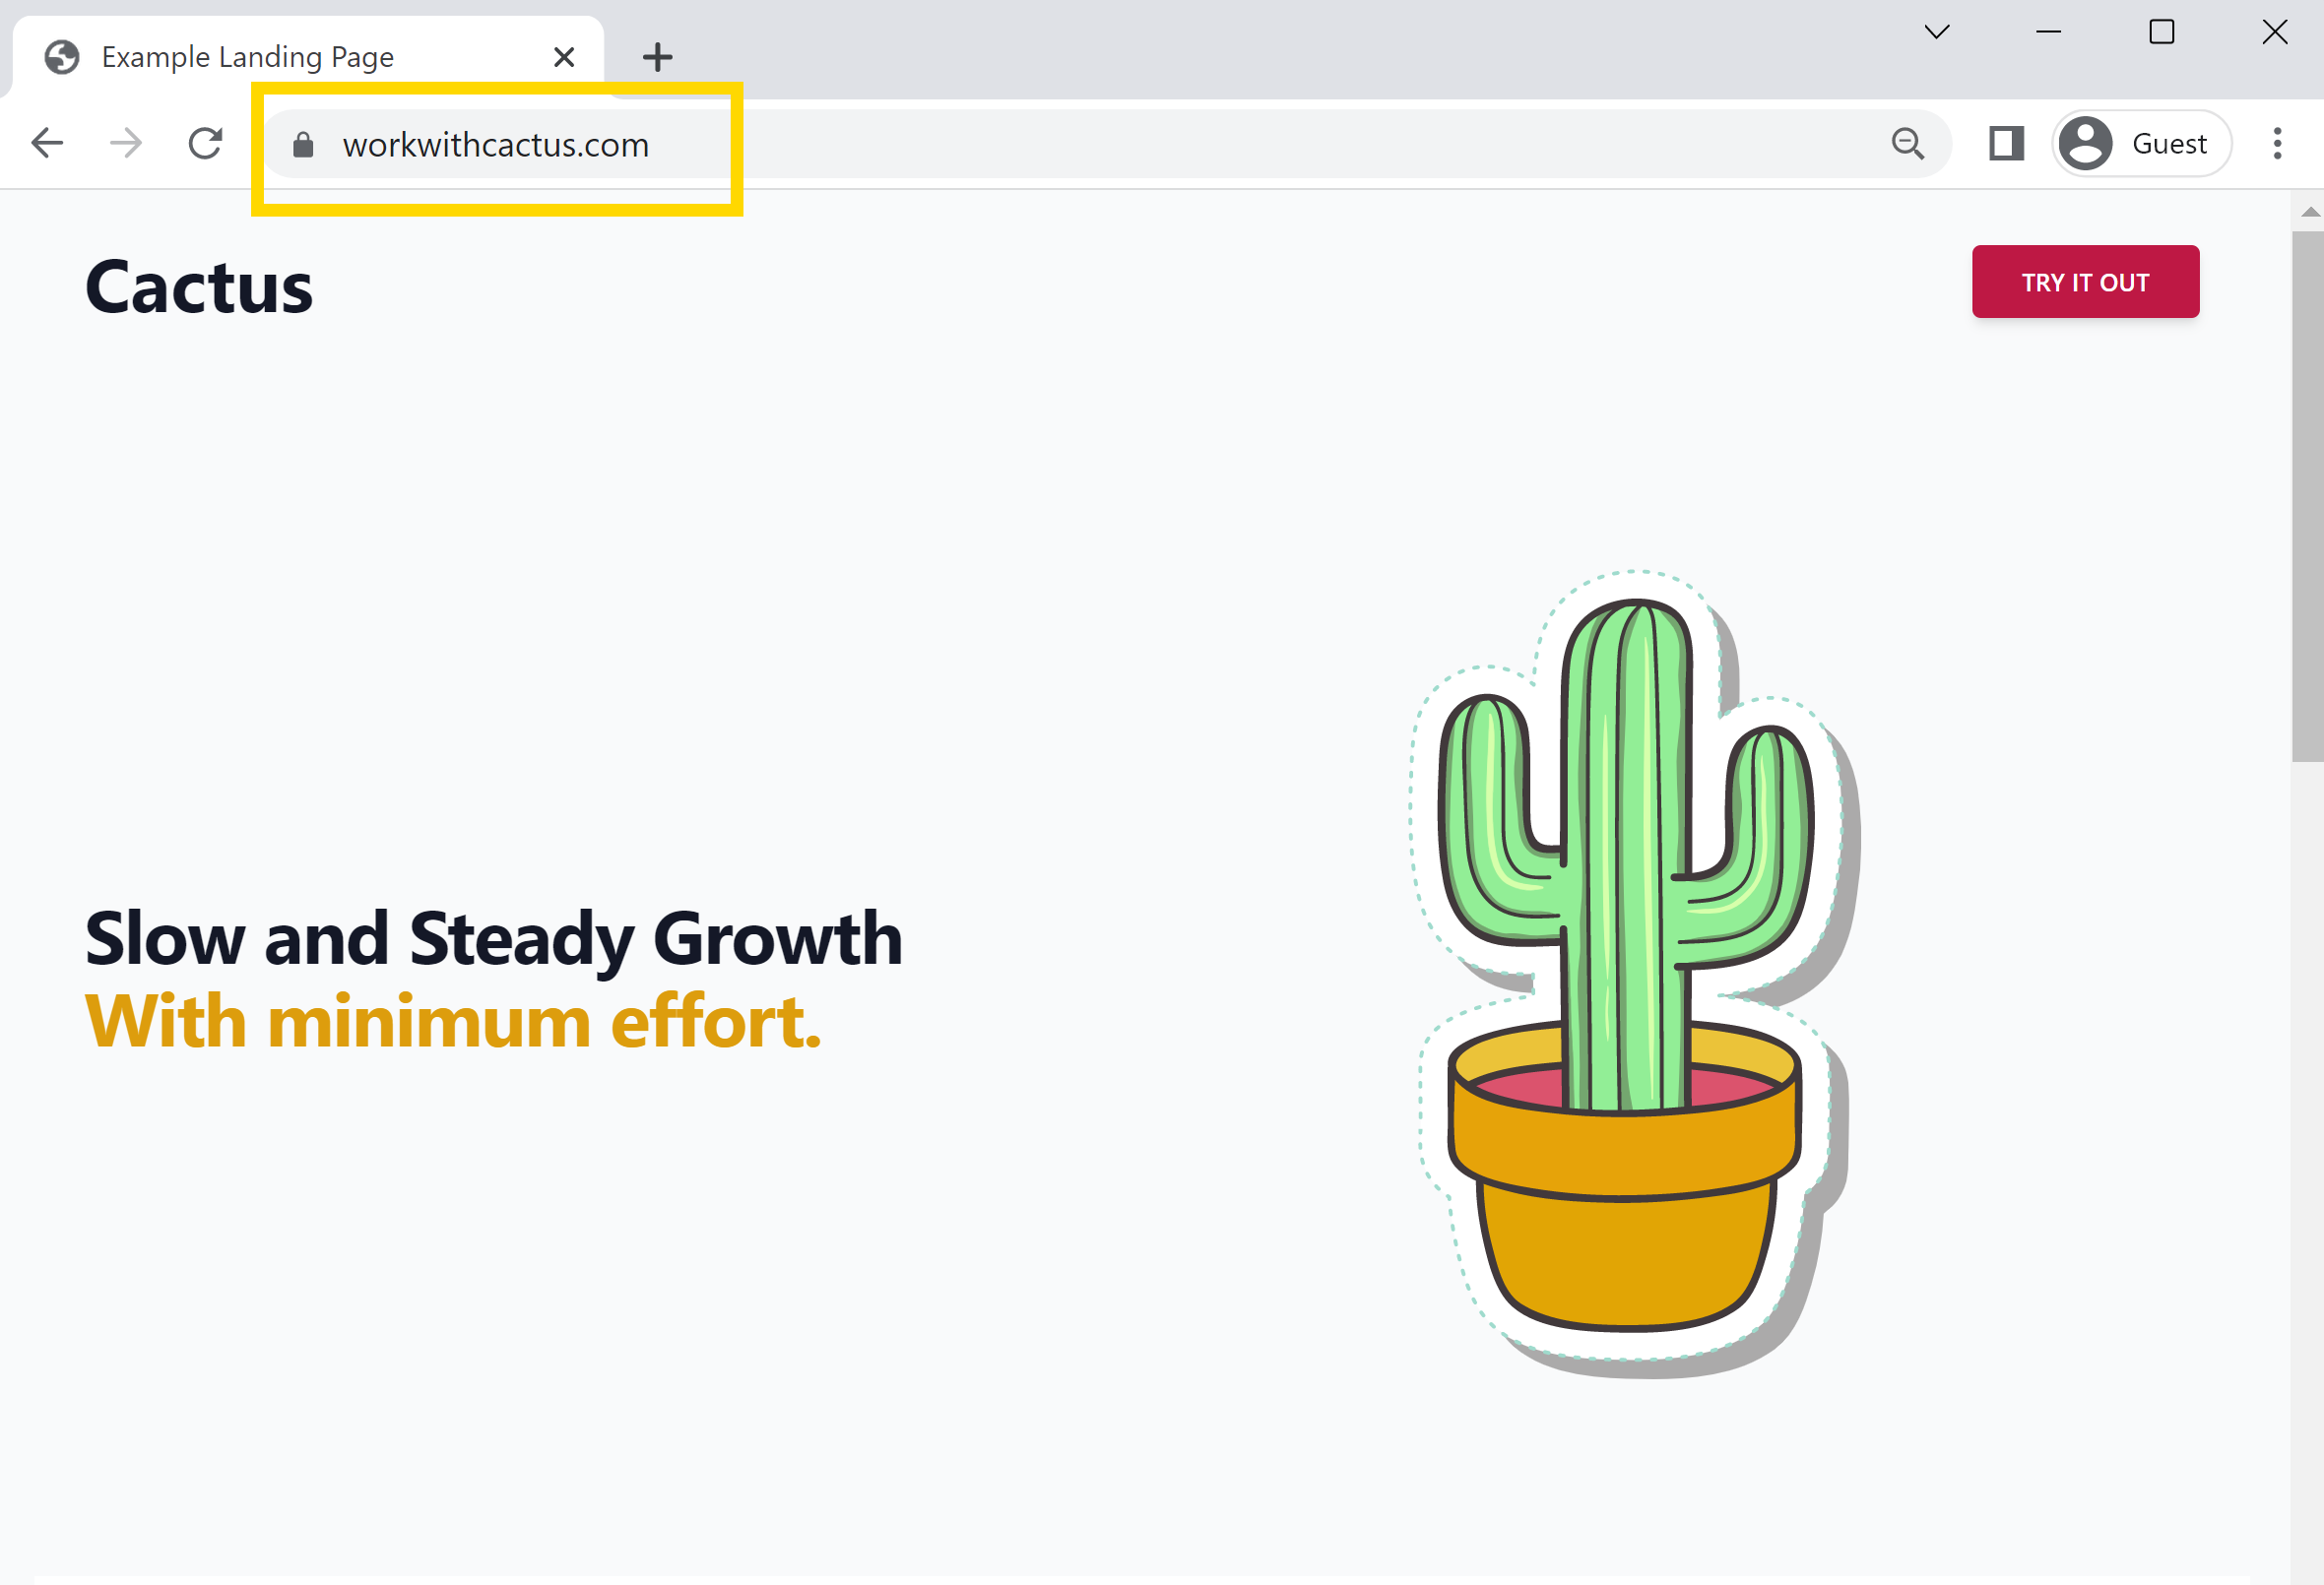
Congratulations! Your website is now live with a custom domain. You can navigate to it in a browser and, after a few seconds, you will see Netlify has even provisioned an SSL certificate for you. This gives your visitors the reassuring padlock icon next to the domain name.
Conclusion
While a full React app may seem overkill for a static HTML website with minimal functionality, it does offer a great starting point from which you can build more advanced, interactive components to really make your landing page stand out. Creation of our React app was made extremely simple thanks to Vite and packaging the assets has been optimised out the box, so we aren't adding a tremendous amount of overhead by including React. With styles provided by the Tailwind CSS utility classes and type support with Typescript you should find development of this site extremely simple and smooth.
We hope you have found this guide useful, some of the topics here have been glossed over relatively briefly (such as Tailwind) but the intention is to give you a starting point from which to experiment and learn yourself.

Hi, I'm James
I've worked in software development for nearly 20 years, from junior engineer to Director of Engineering. I'm here to help you get your foot on the next rung of your career ladder. I post weekly videos on YouTube and publish guides, articles, and guided project tutorials on this site. Sign up to my newsletter too for monthly career tips and insights in the world of software development.
Related Project Tutorials
Read Next...
What is JavaScript Strict Mode and Why You Should Use It?
3 December 2023 • 3 min read
Explore the benefits of JavaScripts strict mode in enhancing code reliability and preventing common mistakes. This article delves into its features, real-world examples, and reasons why both beginners and pros should consider its adoption.
How to Run TypeScript in VS Code
30 November 2023 • 3 min read
Learn how to set up, run, and debug TypeScript in Visual Studio Code. This guide provides step-by-step instructions to enhance your JavaScript development process. Dive into the seamless integration of TypeScript with VSCode for a productive coding session.
First Class Functions in Javascript
17 August 2023 • 3 min read
This article introduces you to first class functions, and how functions can be treated as first class citizens in programming, demonstrating their utility and practical applications in Javascript.